Luxury bag dyeing & colour restorationColour, handled
with precision.
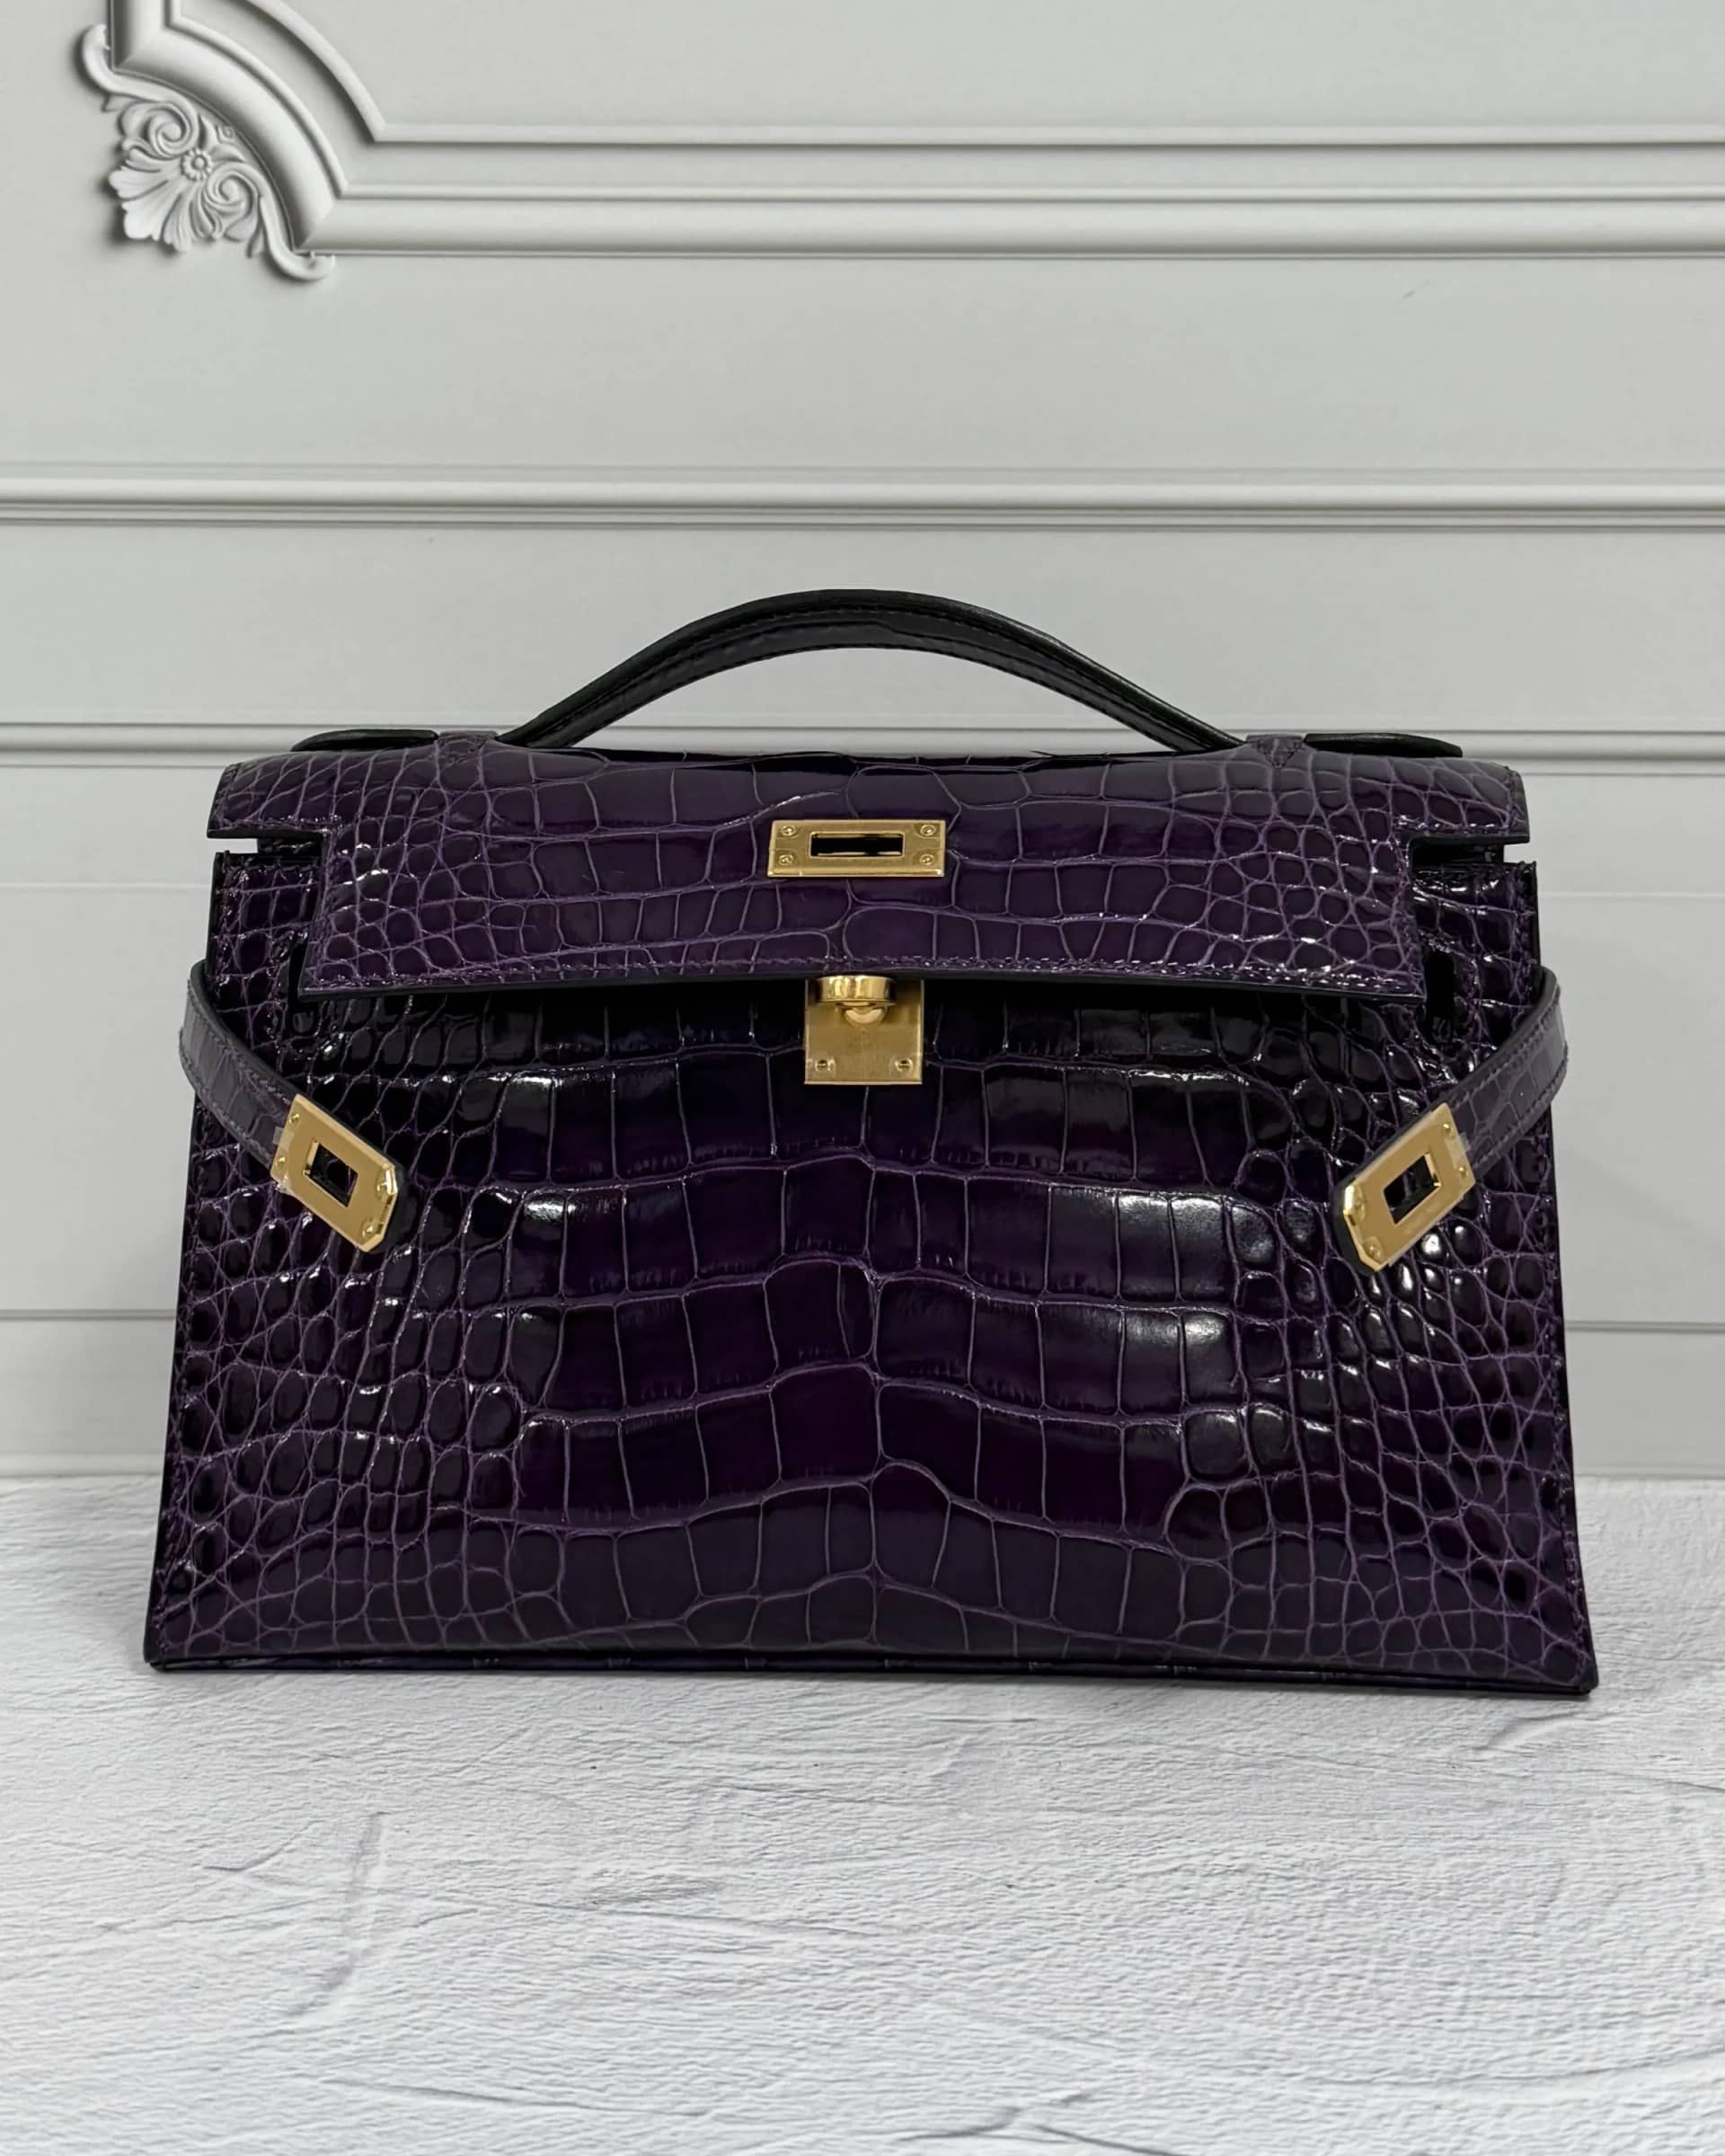
Faded areas are filled back to the original colour still on the piece; when the colour changes, it only goes darker. See the before and after of real work.

01 — The structure
One bag is
From the handle to the base studs, many pieces make one whole.
02 — Apart
Every pieceasks for different work
Leather panels, edges, stitching, hardware, lining — we look at each and work only where it is needed.
03 — Dye
Only the leather,only deeper
Leather can only be dyed deeper than it is now. Thread and metal stay as they are; only the leather takes the colour.
04 — Together
Wholeagain
The work is done when every piece is back in its place.
05 — The real work
Next,the photos
Up to here this is an explanatory film. Below are real before-and-after photos of our work.
See the signature workExplanatory film (AI-generated) · not a photo of our work
Explanatory film (AI-generated): the bag comes apart into its pieces, only the leather pieces are dyed a deeper colour, and the bag goes back together. Real photos of our work follow below.
- Leather panels — Dyed · same colour or deeper
- Edges — Edge paint renewed
- Handle — Replaced · re-dyed
- Hardware — Re-plated
- Stitching — Masked, left as is
- Corners — Spot-dyed
- Lining — Replaced
Signature work
The stitching kept, the black restored
Two photos of the front, CC visible, both taken straight on, overlaid. Move the divider and the CC and the stitch lines carry across.
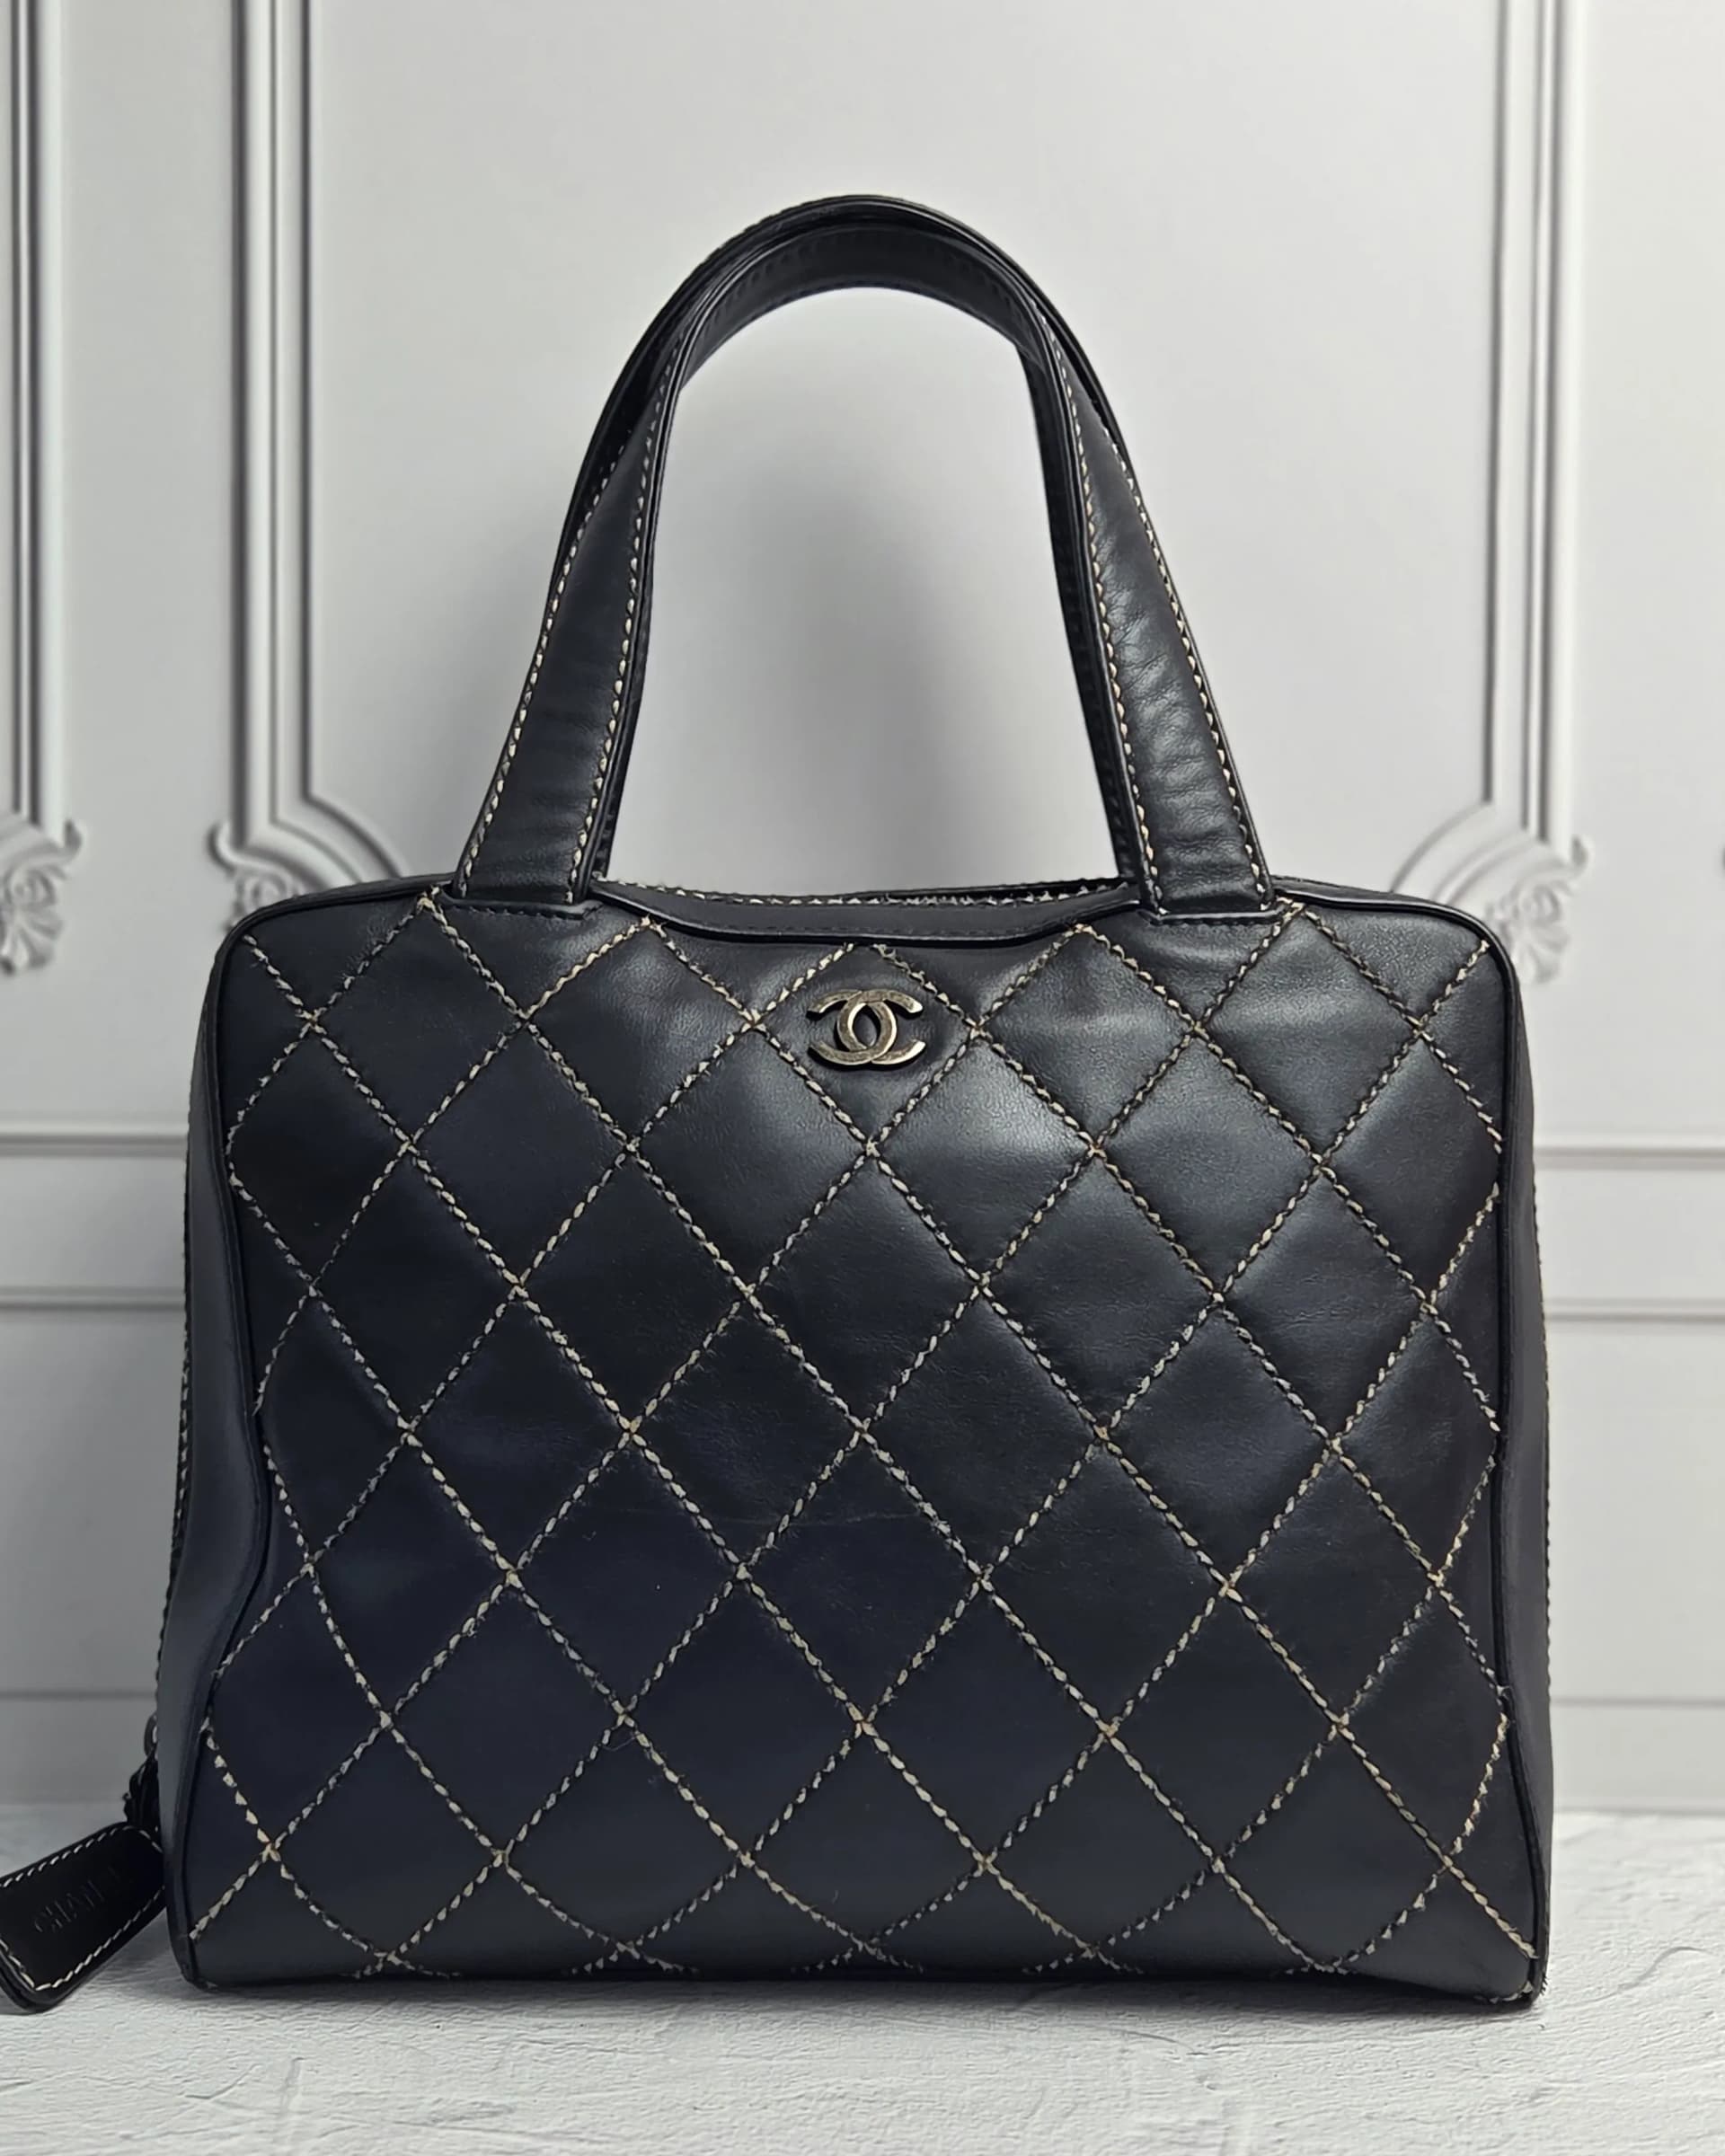
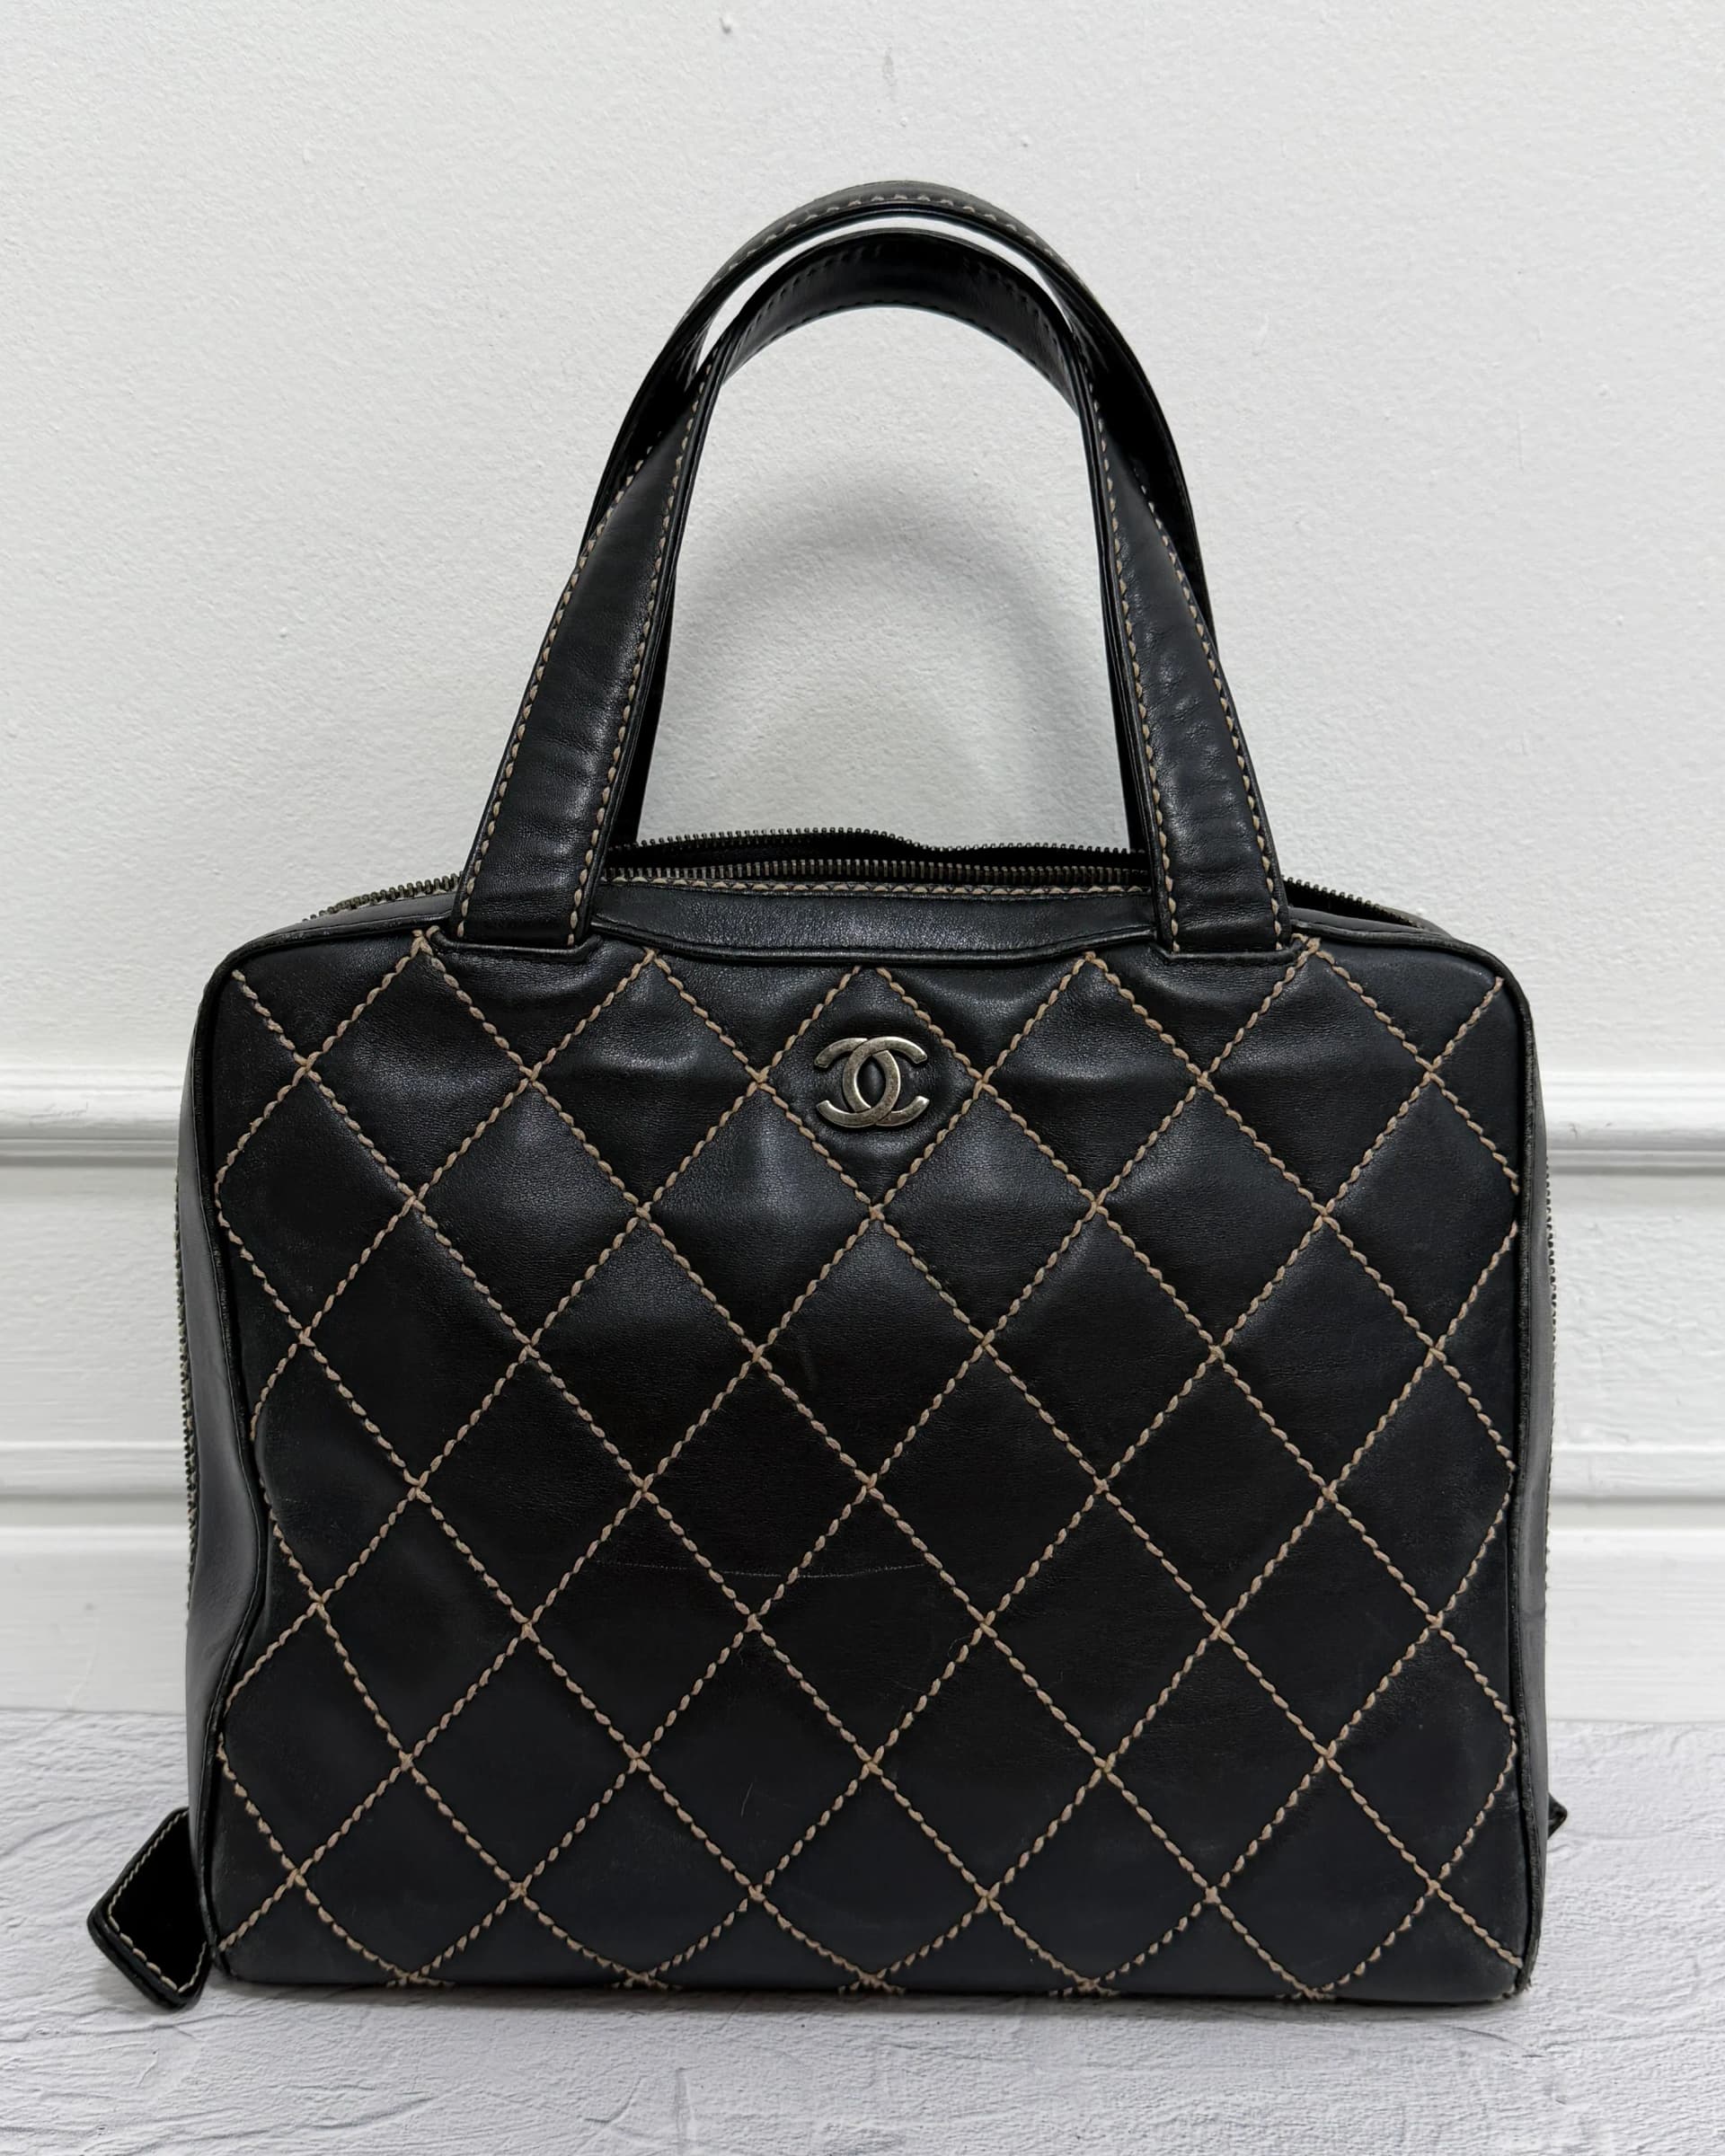
Drag the centre line, or use the ←/→ keys.
The after photo is only resized and moved to line up with the before photo. No colour or brightness changes.
Dye record for this piece
Faded blackBlack · Restored in the same colour
- Condition on arrival
A Chanel Wild Stitch bag, known for its bold beige stitching. The colour had faded all over, the sheen had dulled with use, and the tone had shifted at the bottom and sides.
- Target colour
Dyed to the original Chanel black. The beige stitching is not dyed and stays as it is.
- Colour mixing & process
- Settling the leather
- Masking every stitch line
- Dyeing black
- Finishing
The leather was settled first, then the tone was evened out.
Dye on the stitching would dull the beige, so every stitch line was masked and only the leather was dyed.
Not too jet-black and never too shiny — matched to the depth and natural sheen of the original Chanel black.
- Result
In the photo of the front, taken straight on, the leather reads as an even black and the beige stitching is still there.
Condition, target colour, and mixing and process follow the published case description; the result and limits are what the photos show.
Signature work — the full recordDye work
The dye records, in five chapters
Each case sets out the condition on arrival, the target colour, the mixing and process, the result, and its limits.
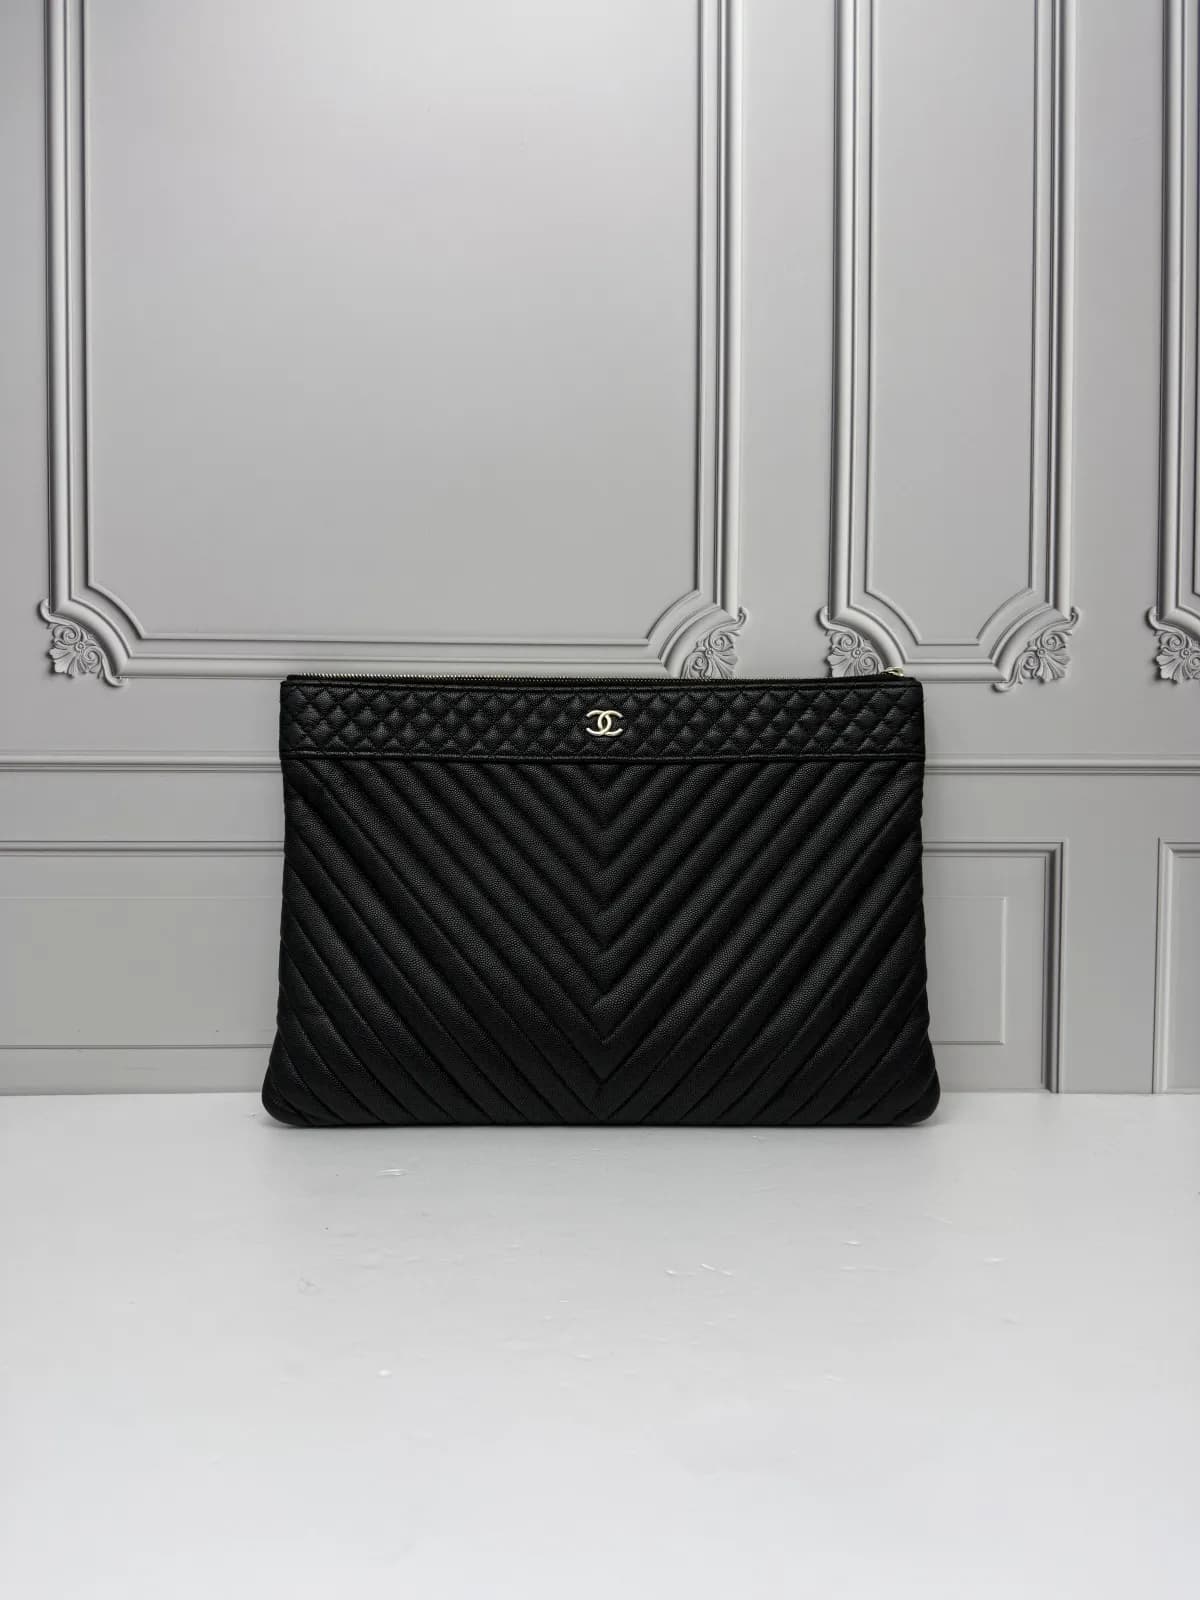
- A darker colourPieces taken to a colour darker than the one they had. Leather can only be dyed darker than its current colour.Photo · Chanel caviar clutch — Ivory → Black · Changed to a darker colour
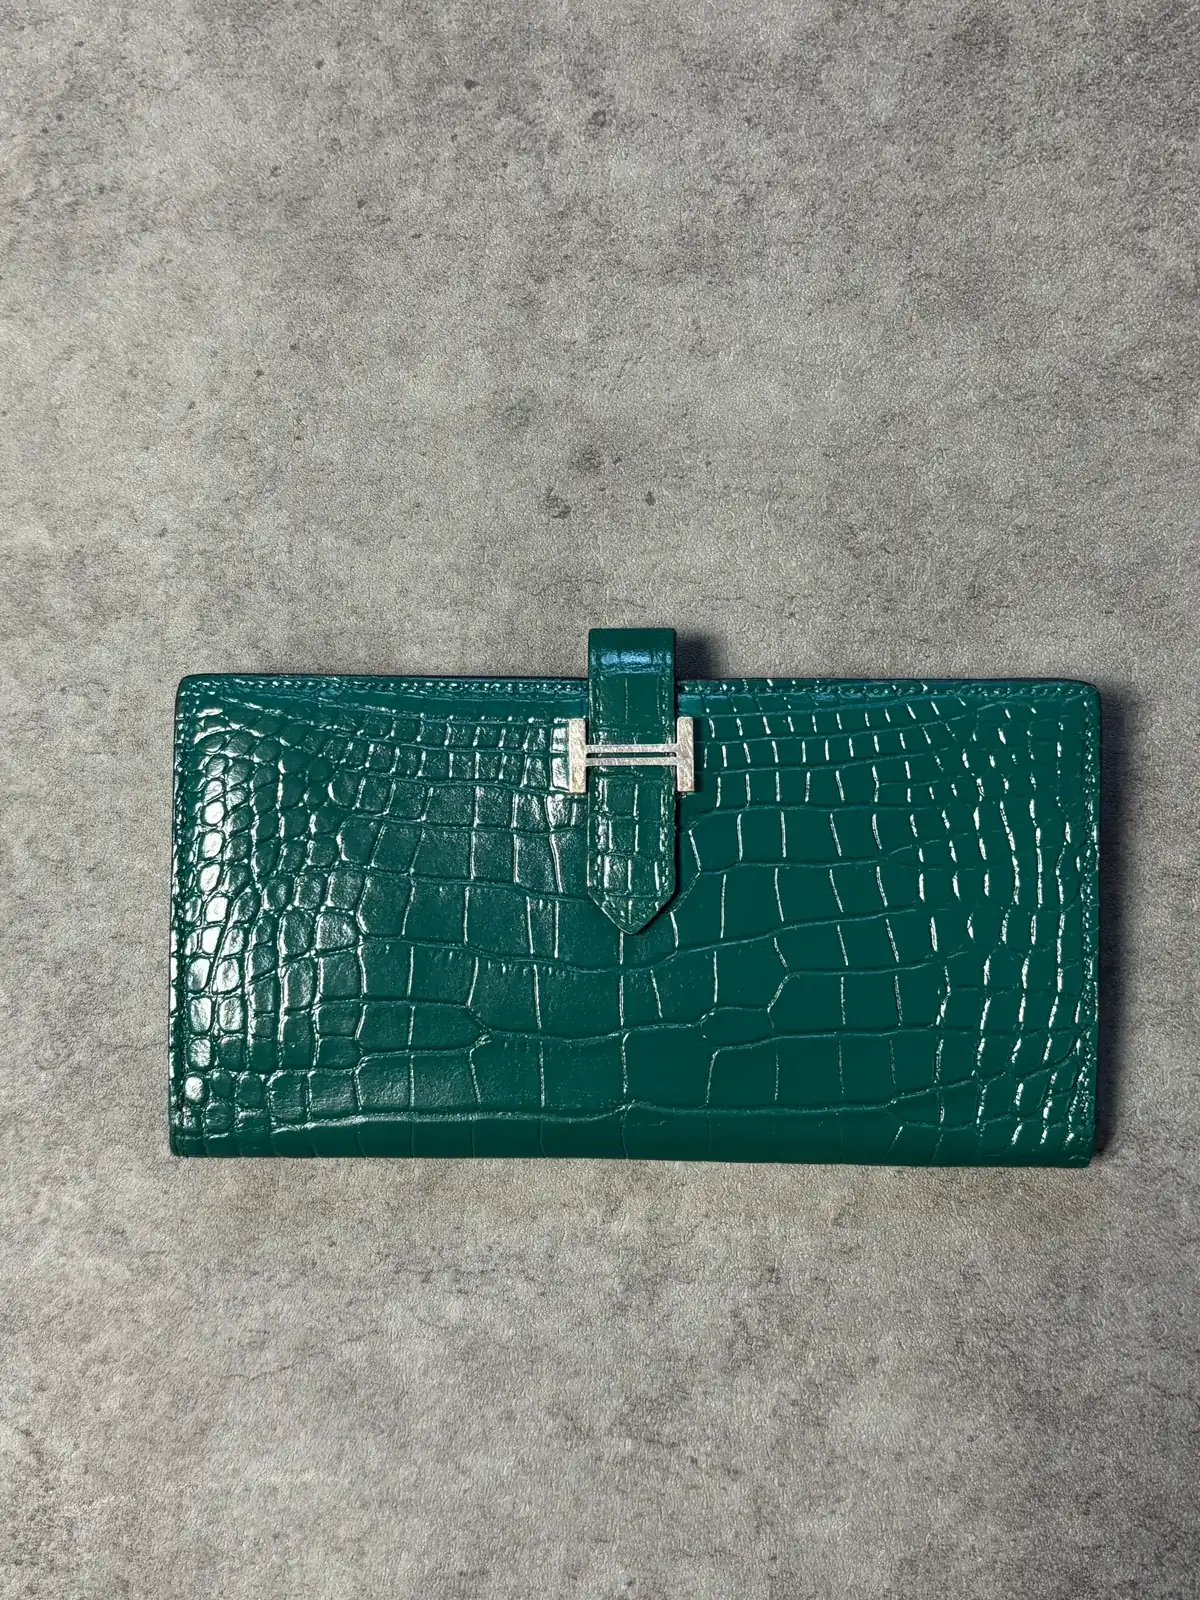
- The same colourFaded areas filled back to the original colour still on the piece.Photo · Hermès Béarn wallet · green crocodile — Patchy green → Green · Restored in the same colour
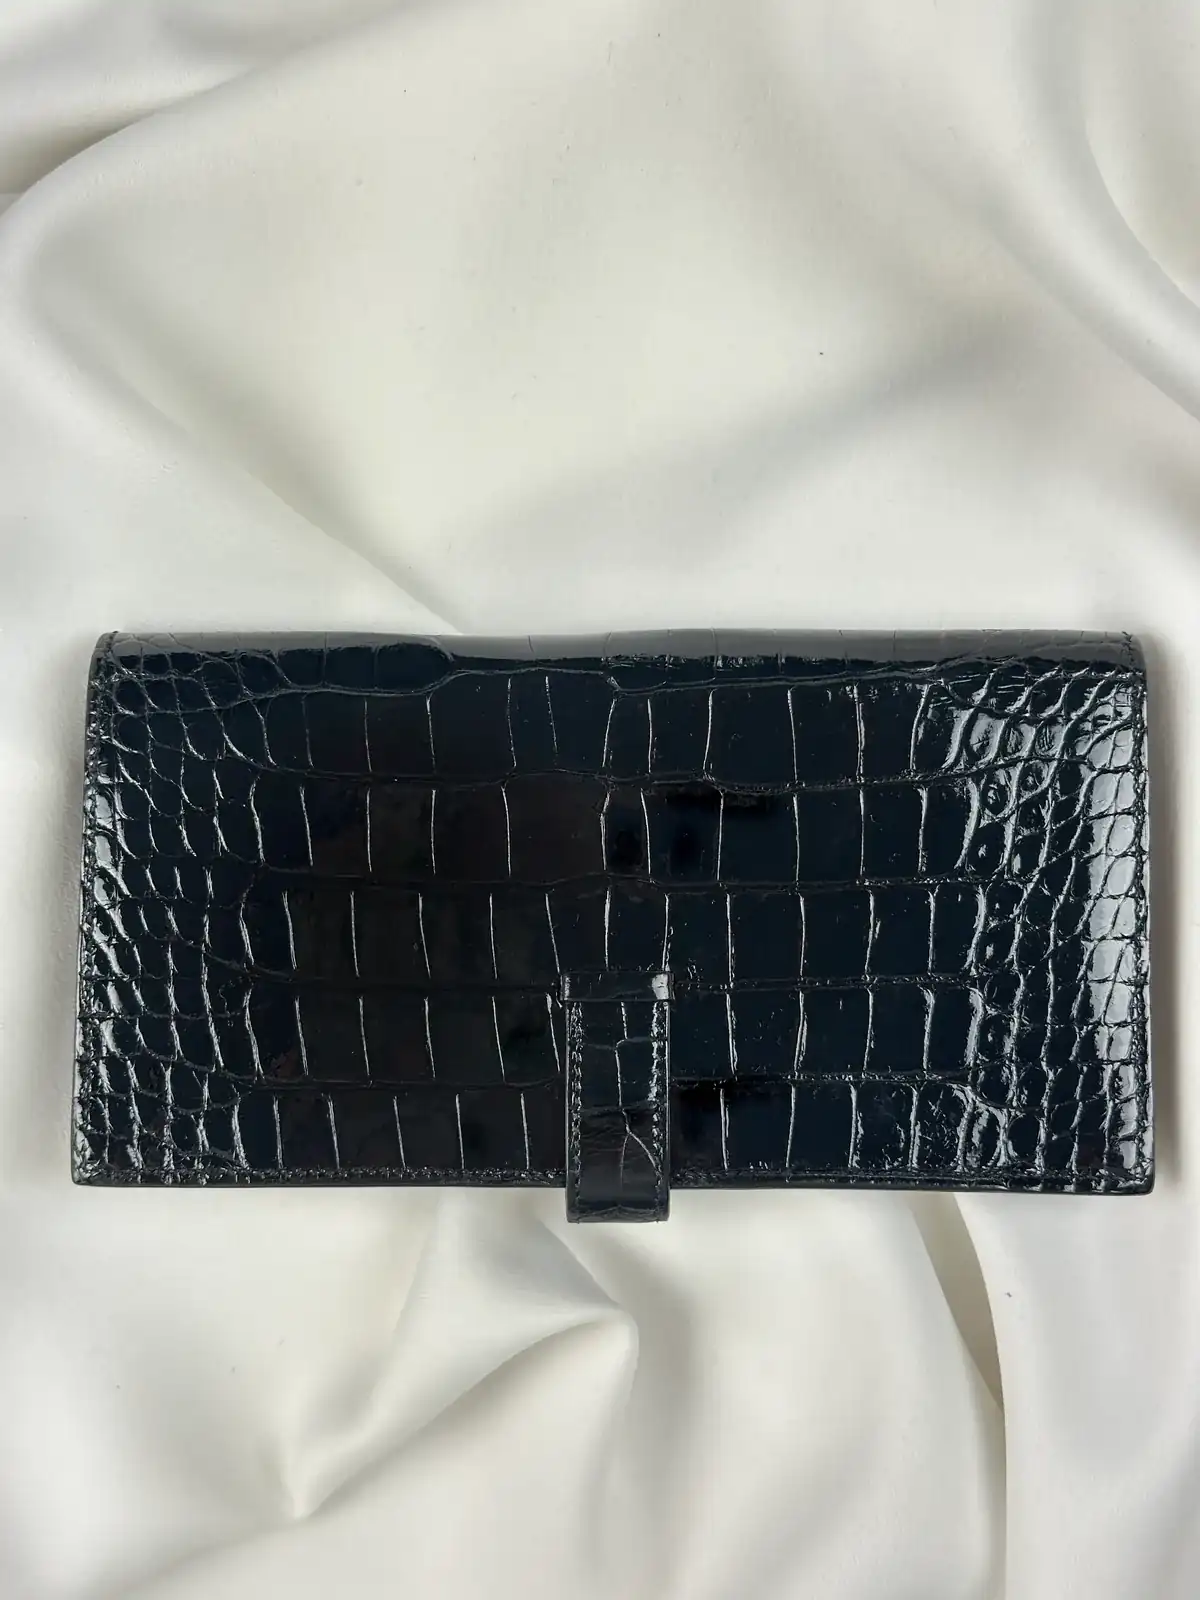
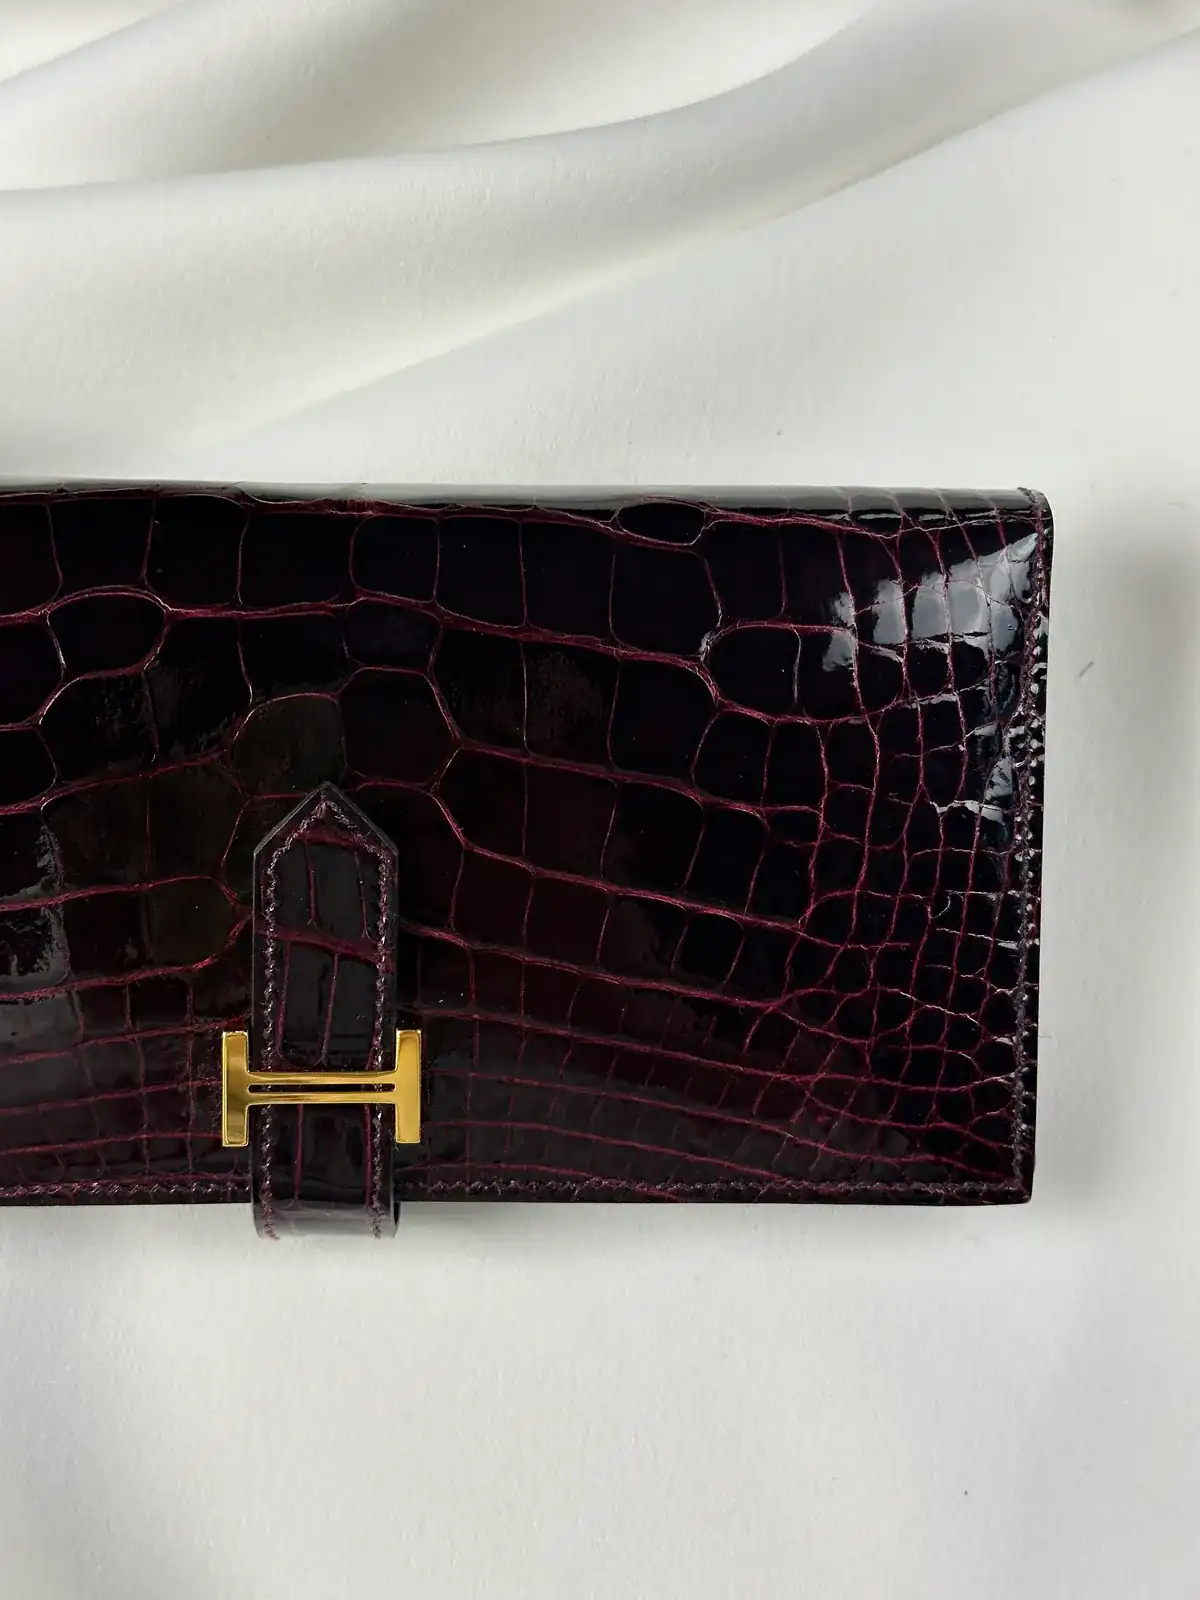
- Bringing back crocodile glossBags and walletsCrocodile whose gloss had turned uneven or cloudy, with the shine redone.Photo · Hermès Béarn wallet · black crocodile — Black (dulled, faded at the corners) → Black · Restored in the same colour
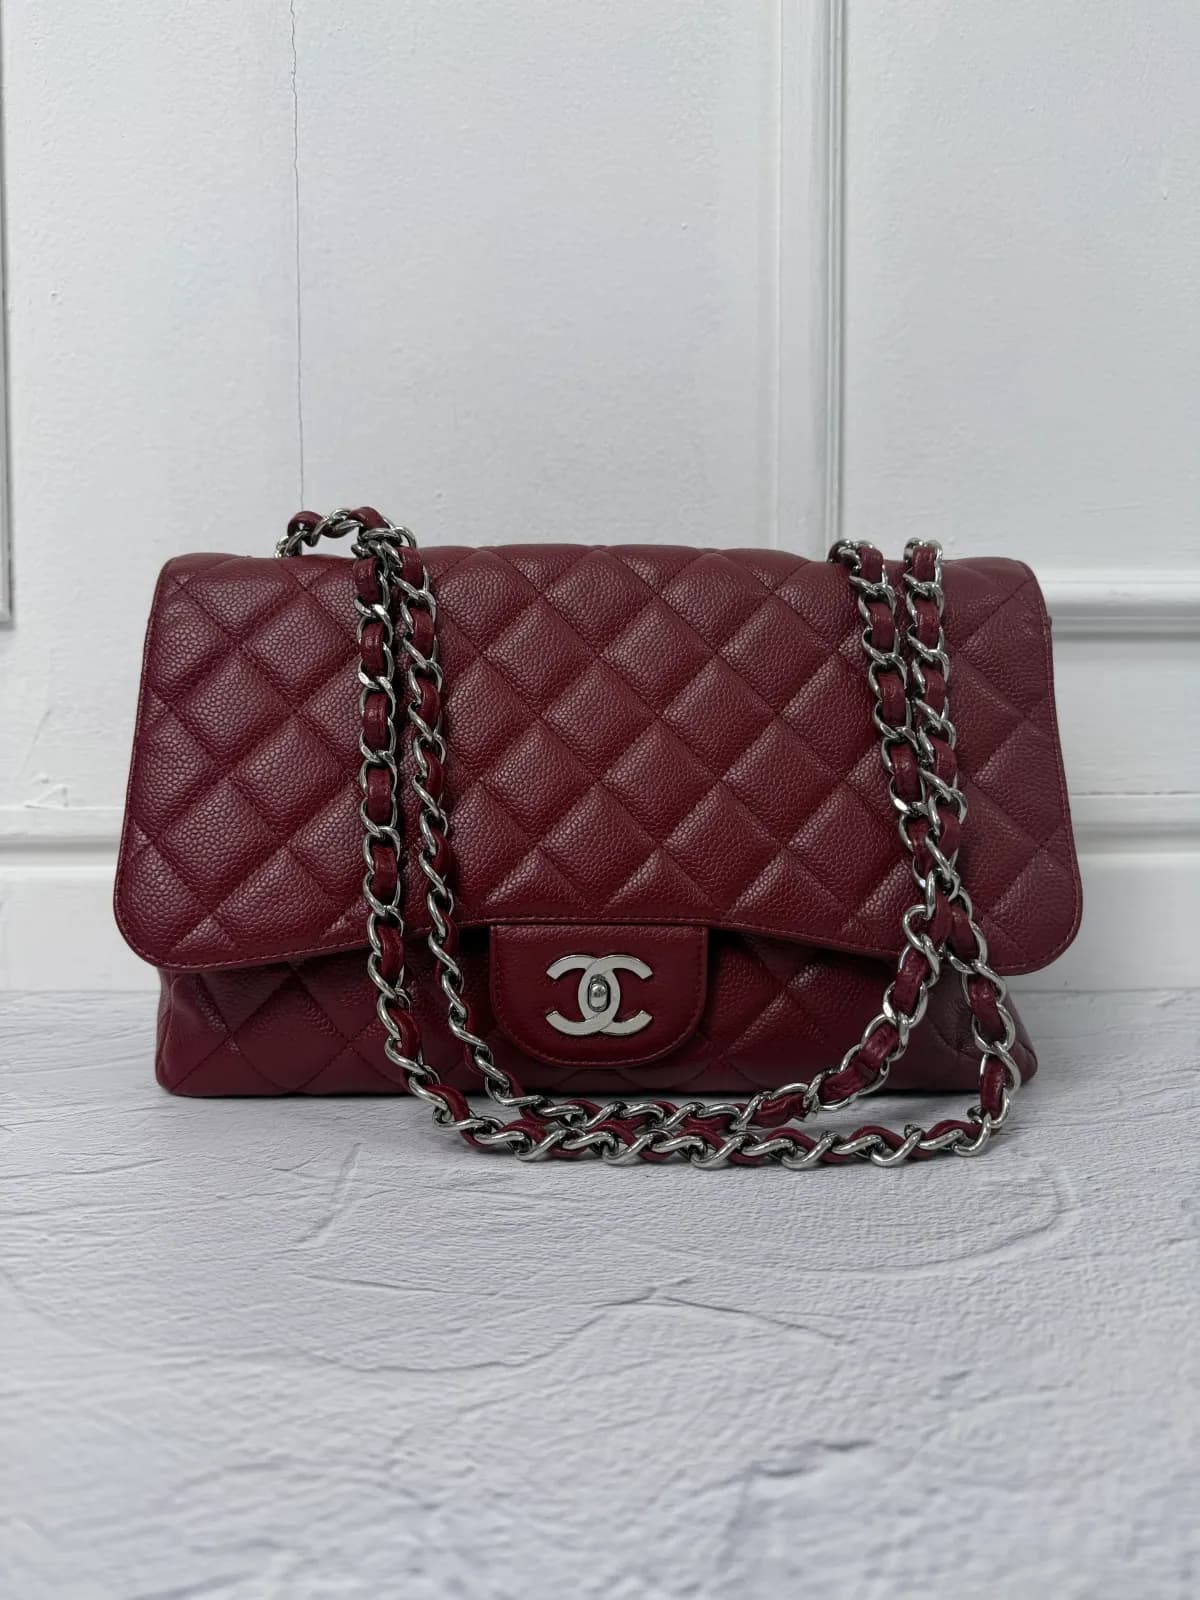
- Partial re-dyeingOnly the worn or scuffed areas, dyed to match the colour around them.Photo · Chanel Classic Flap · burgundy — Burgundy (white scuffs at the corners) → Burgundy · Restored in the same colour
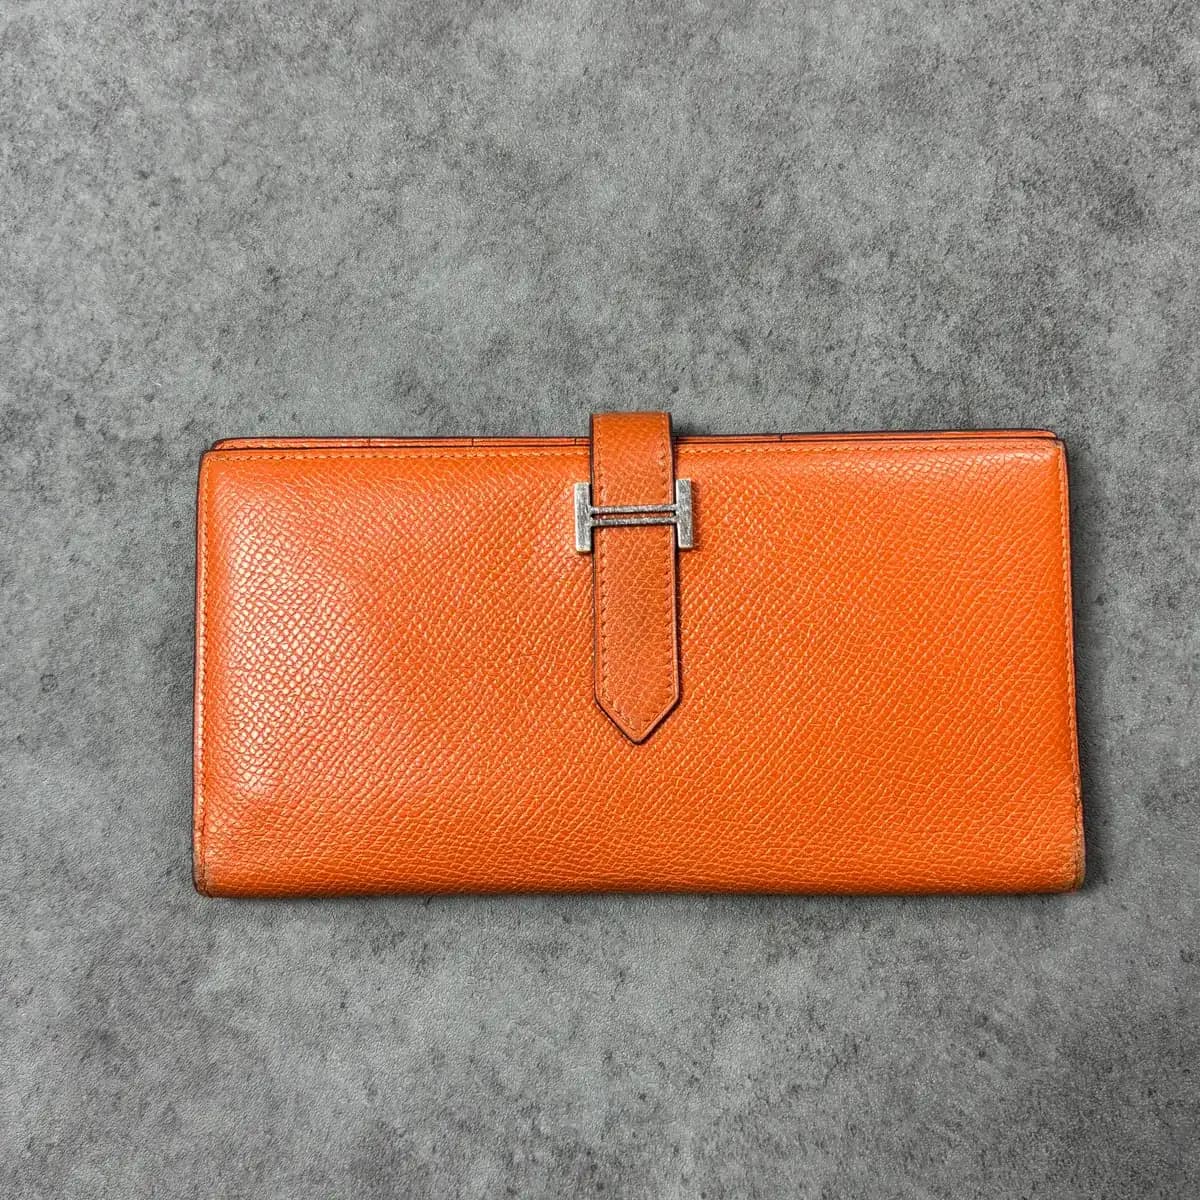
- EdgesEdge paint on the cut edges redone. The leather colour was not changed; this is not dye work.Photo · Hermès Béarn wallet · orange — Deep reddish-brown edge · No colour change
Process and principles
Leather can only be dyed darker than its current colour.
White can become black; black cannot go back to white. Faded areas are filled back to the original colour still on the piece.
Illustration · not actual leather colours
Pick your bag’s current colour
- There is no public price list. Cost is discussed once we have seen the bag.
- The work photos on this page have not had their colour or brightness changed — they are only cropped and resized.
How the work runs
- ConsultationYou send photos of the whole bag and the problem area, and we tell you first what can and can’t be done.
- Inspection & colour mixingWe check the piece in person, set the scope, and mix the colour — to the original colour still on it, or to a darker one.
- DyeingThe leather is dyed to suit its condition, with any repairs it needs done alongside.
- Finishing & checksFinished, checked, and returned.