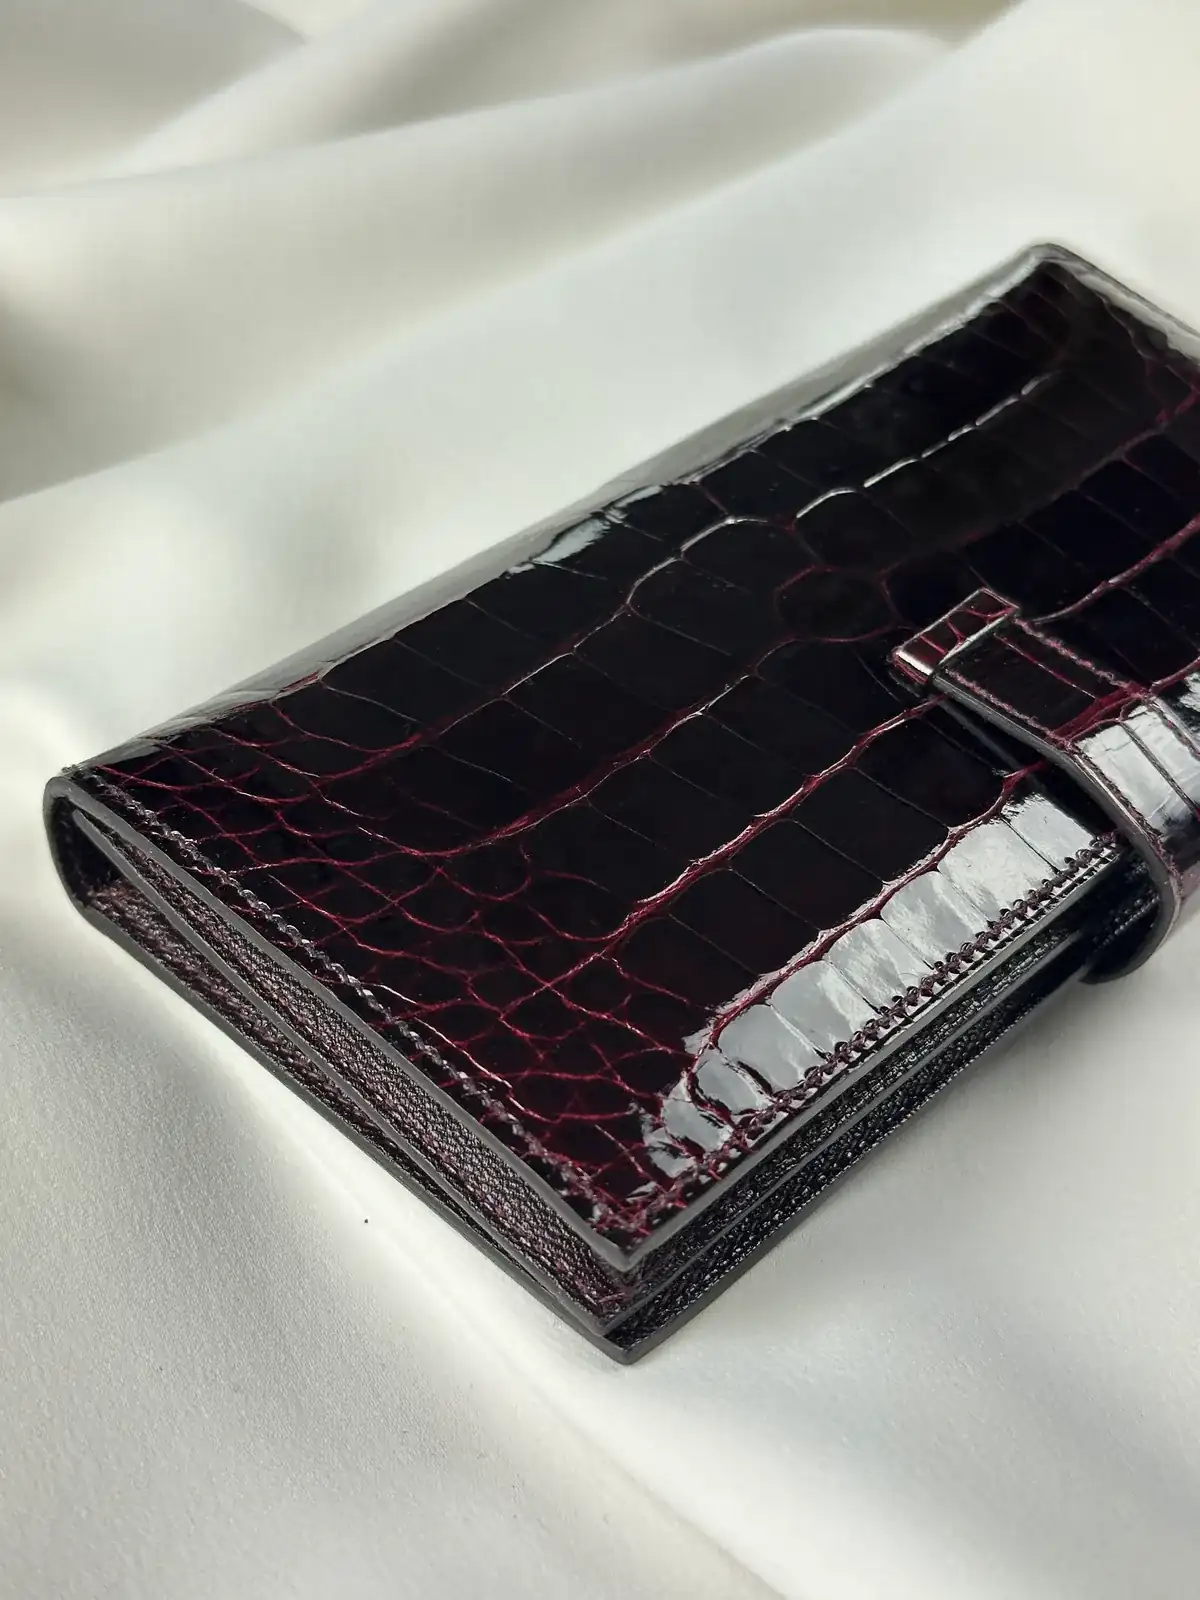
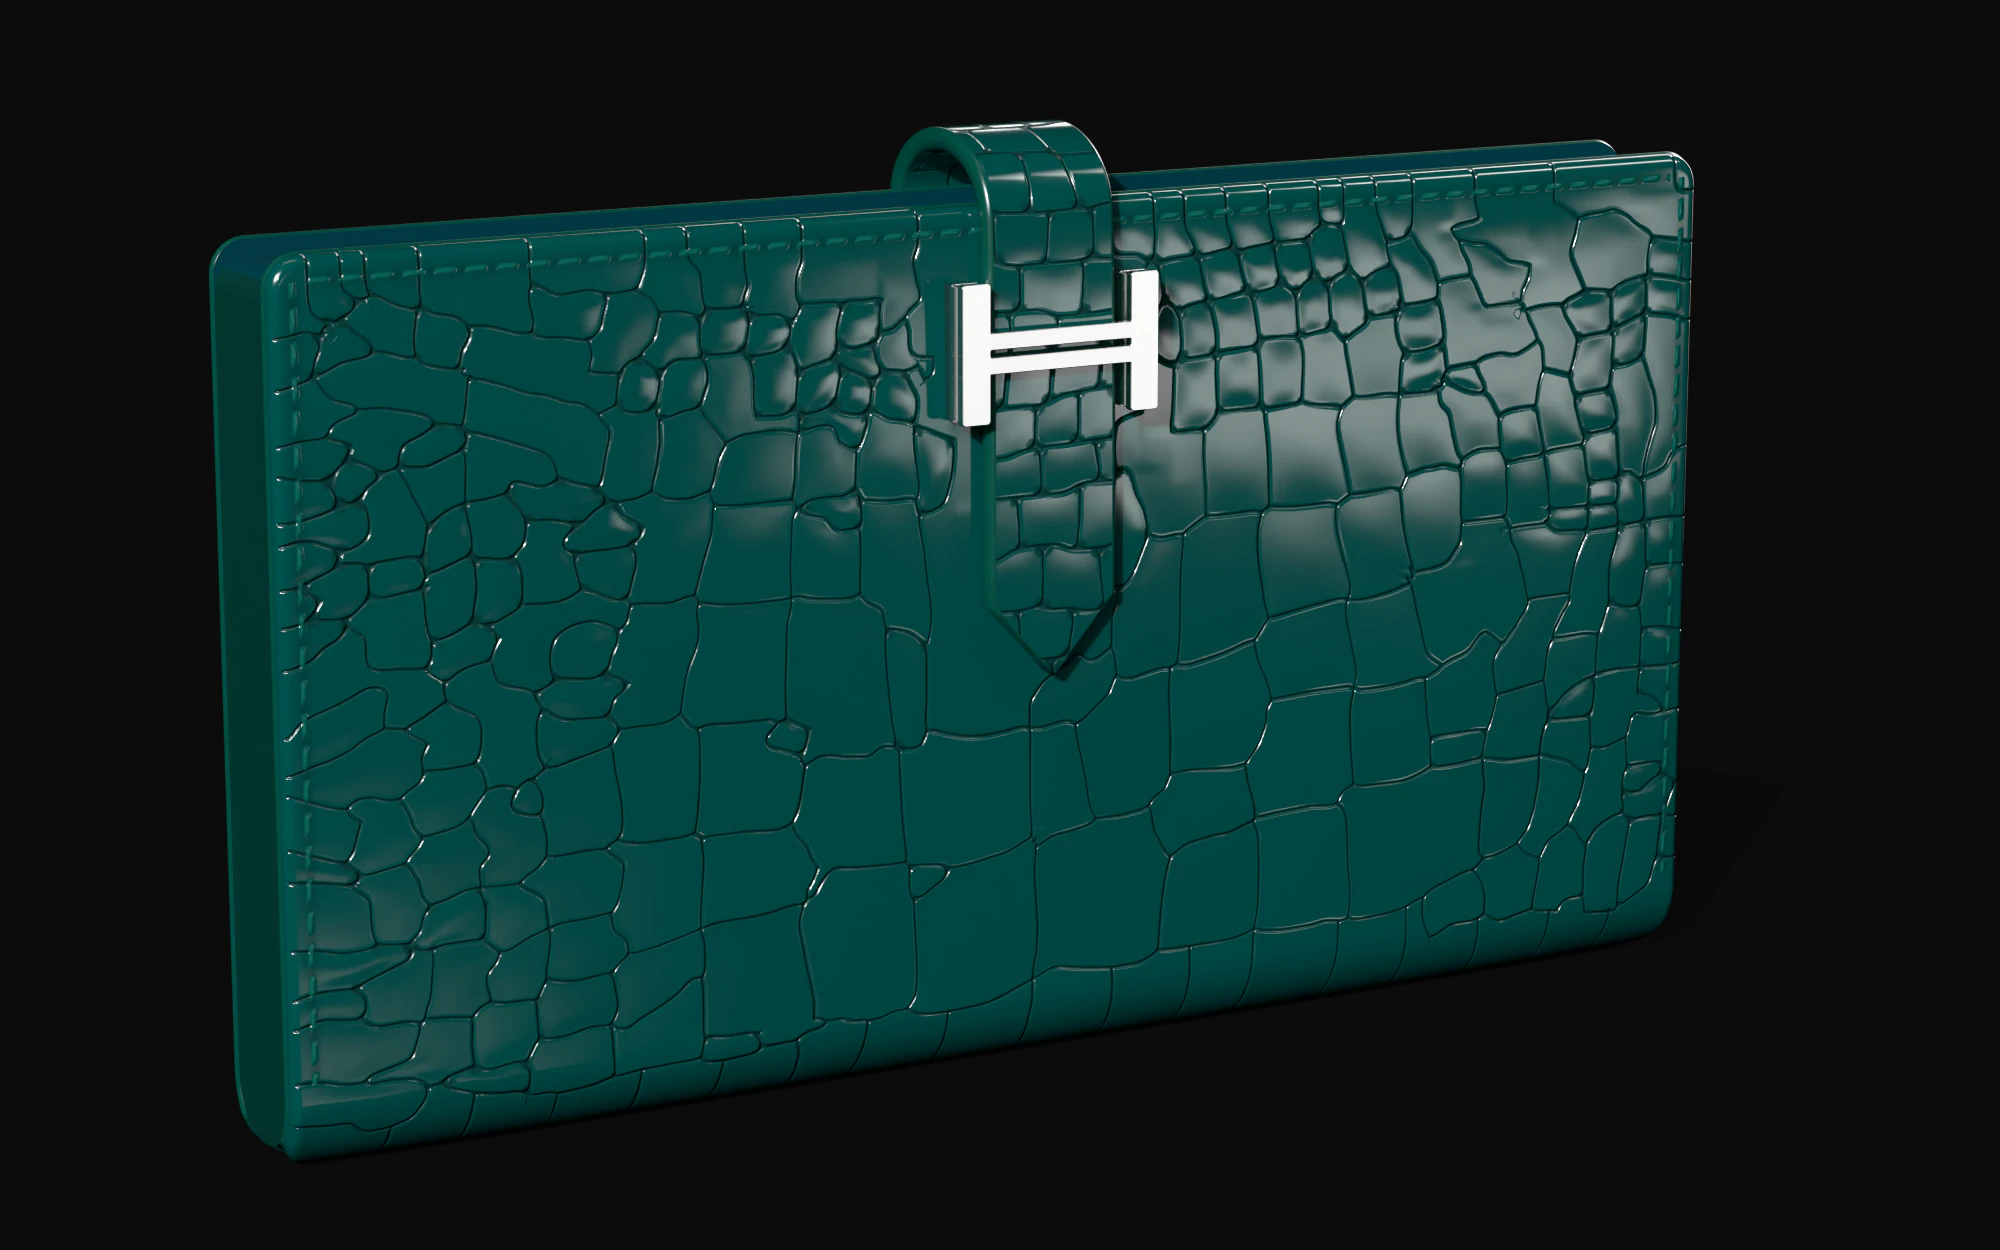
Hermès Béarn wallet · green crocodile, re-dyed The original green, mixed again.


The after photo is only resized and moved to line up with the before photo. No colour or brightness changes.
This wallet came in after an earlier dye job, its colour uneven from scale to scale. The earlier dye layer was prepared before any new colour went on, then the original green was mixed again and dyed.
Close in, scale by scale
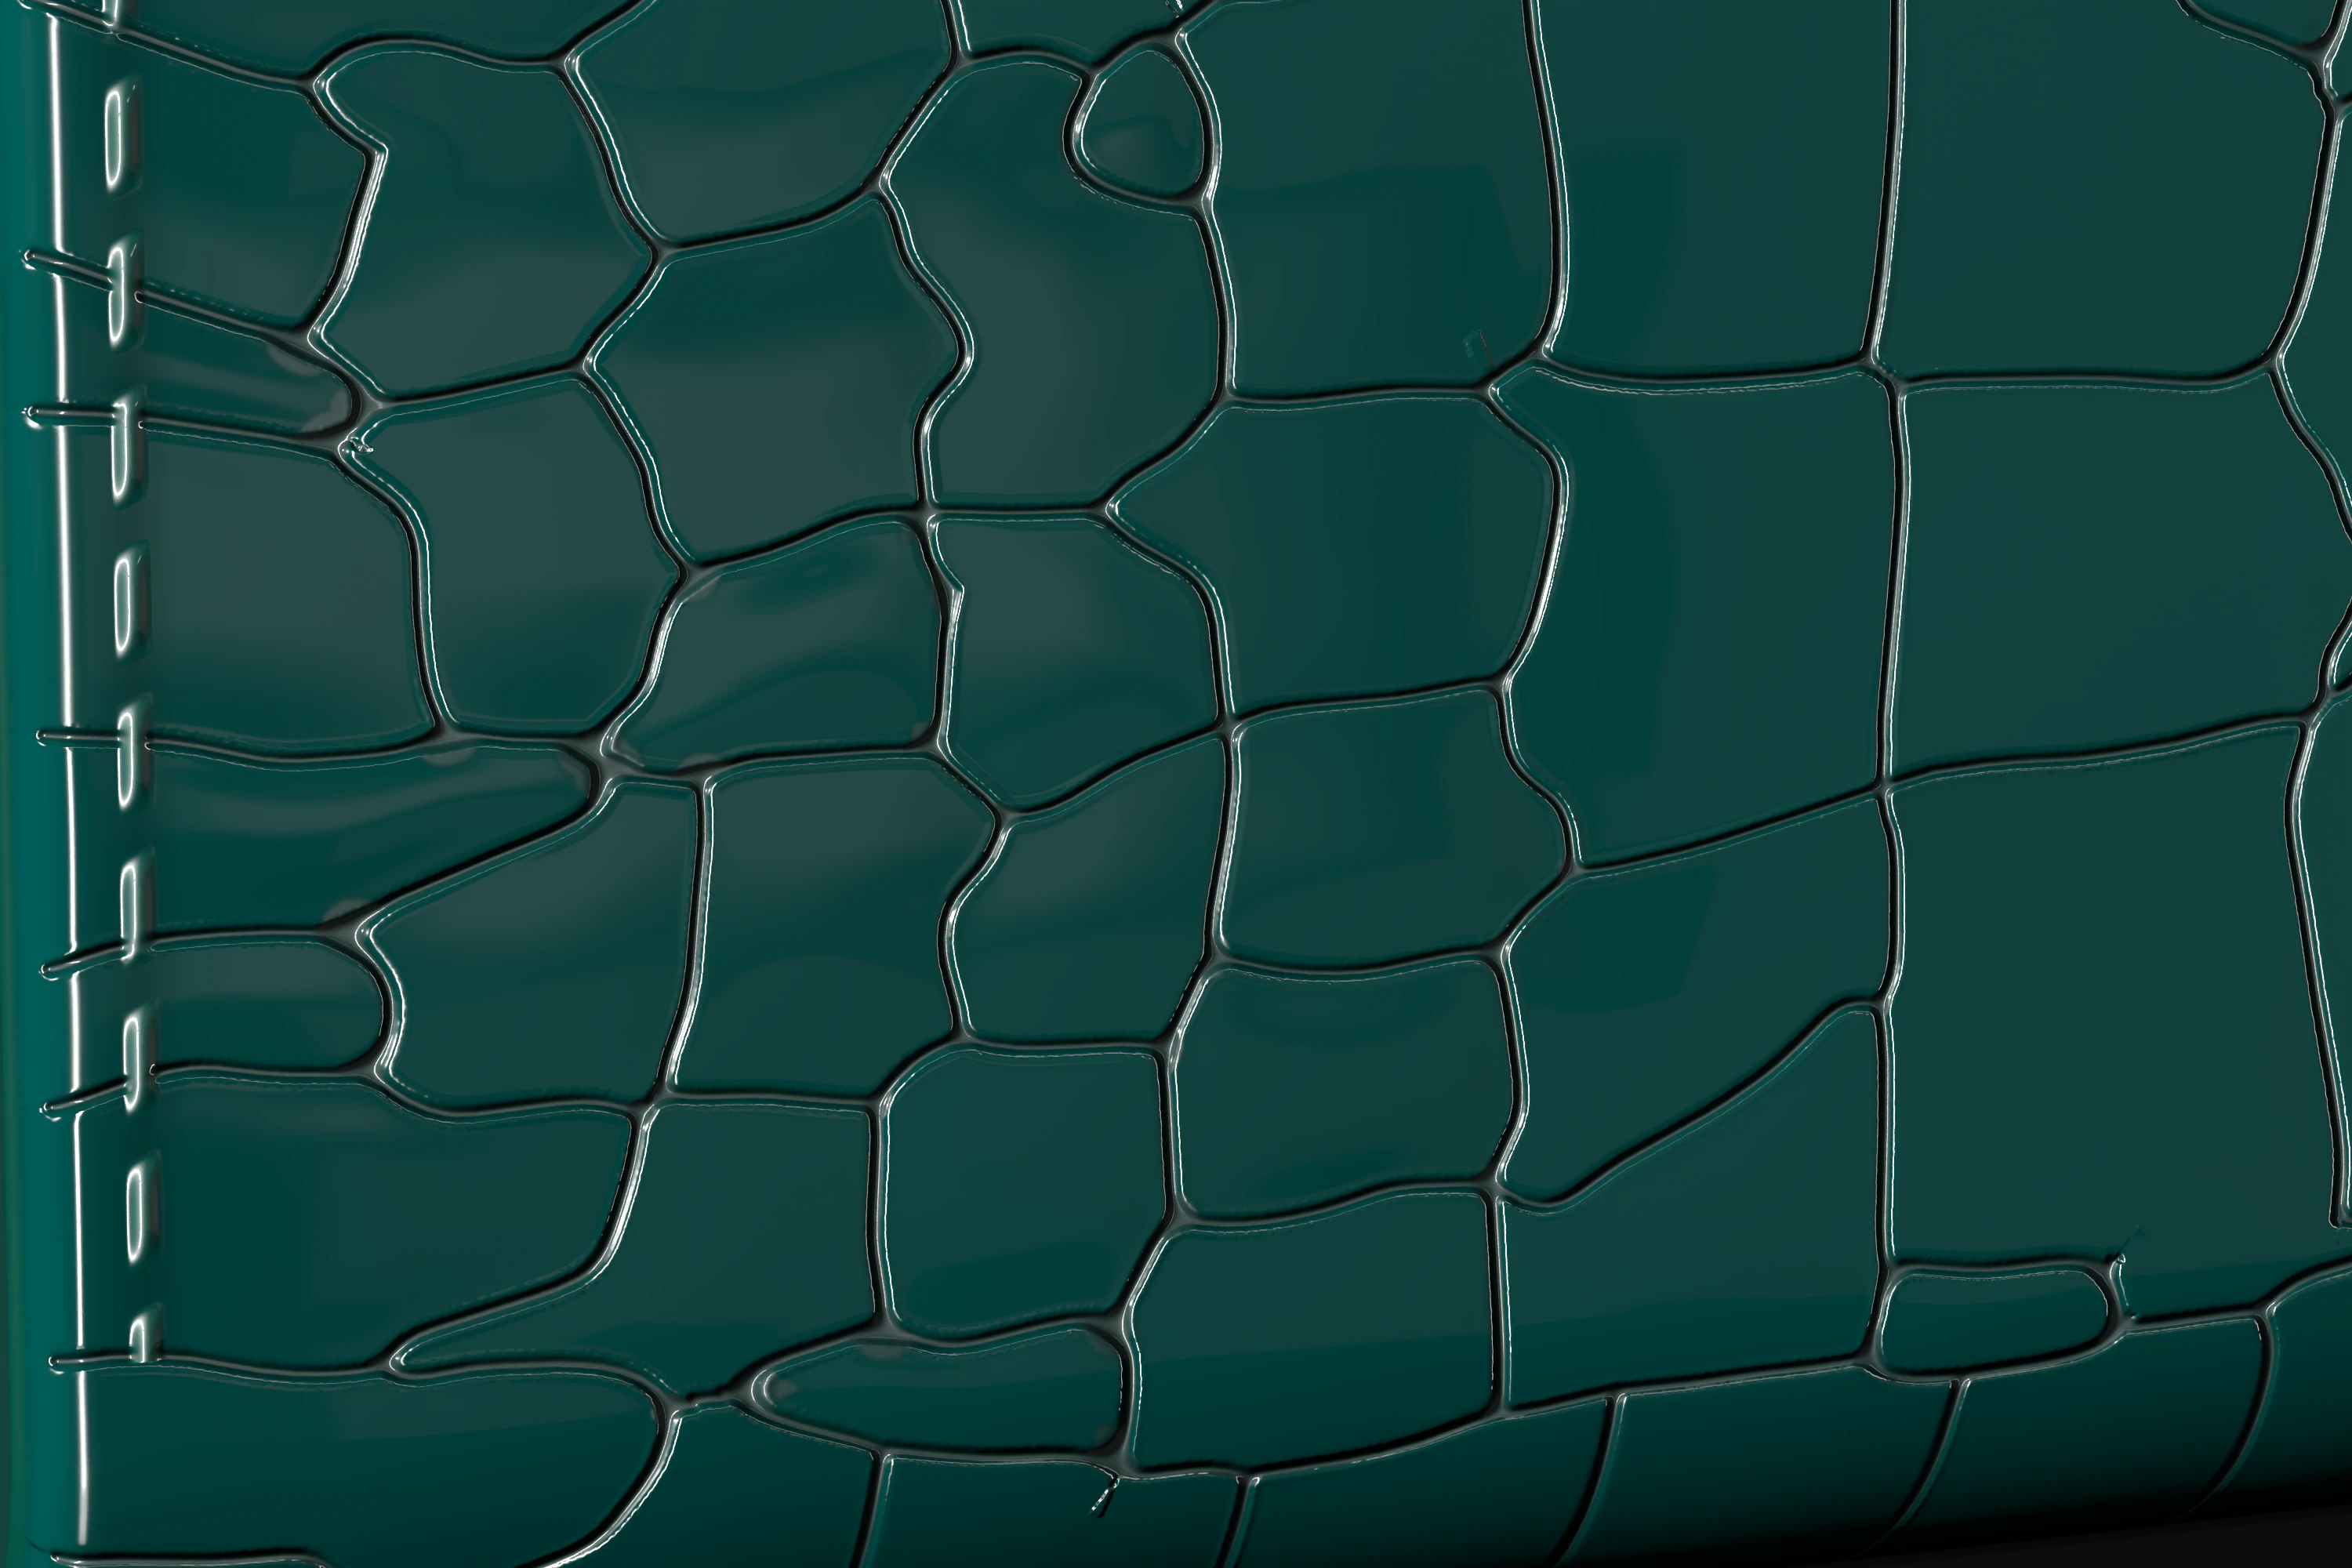
Drag across the picture to move the light. This 3D visualisation shows how the tops of the scales and the grooves between them take the light.
3D visualisation: the scales at the lower left of the front, close up, in raking light.
02 / 07
Uneven from scale to scale.
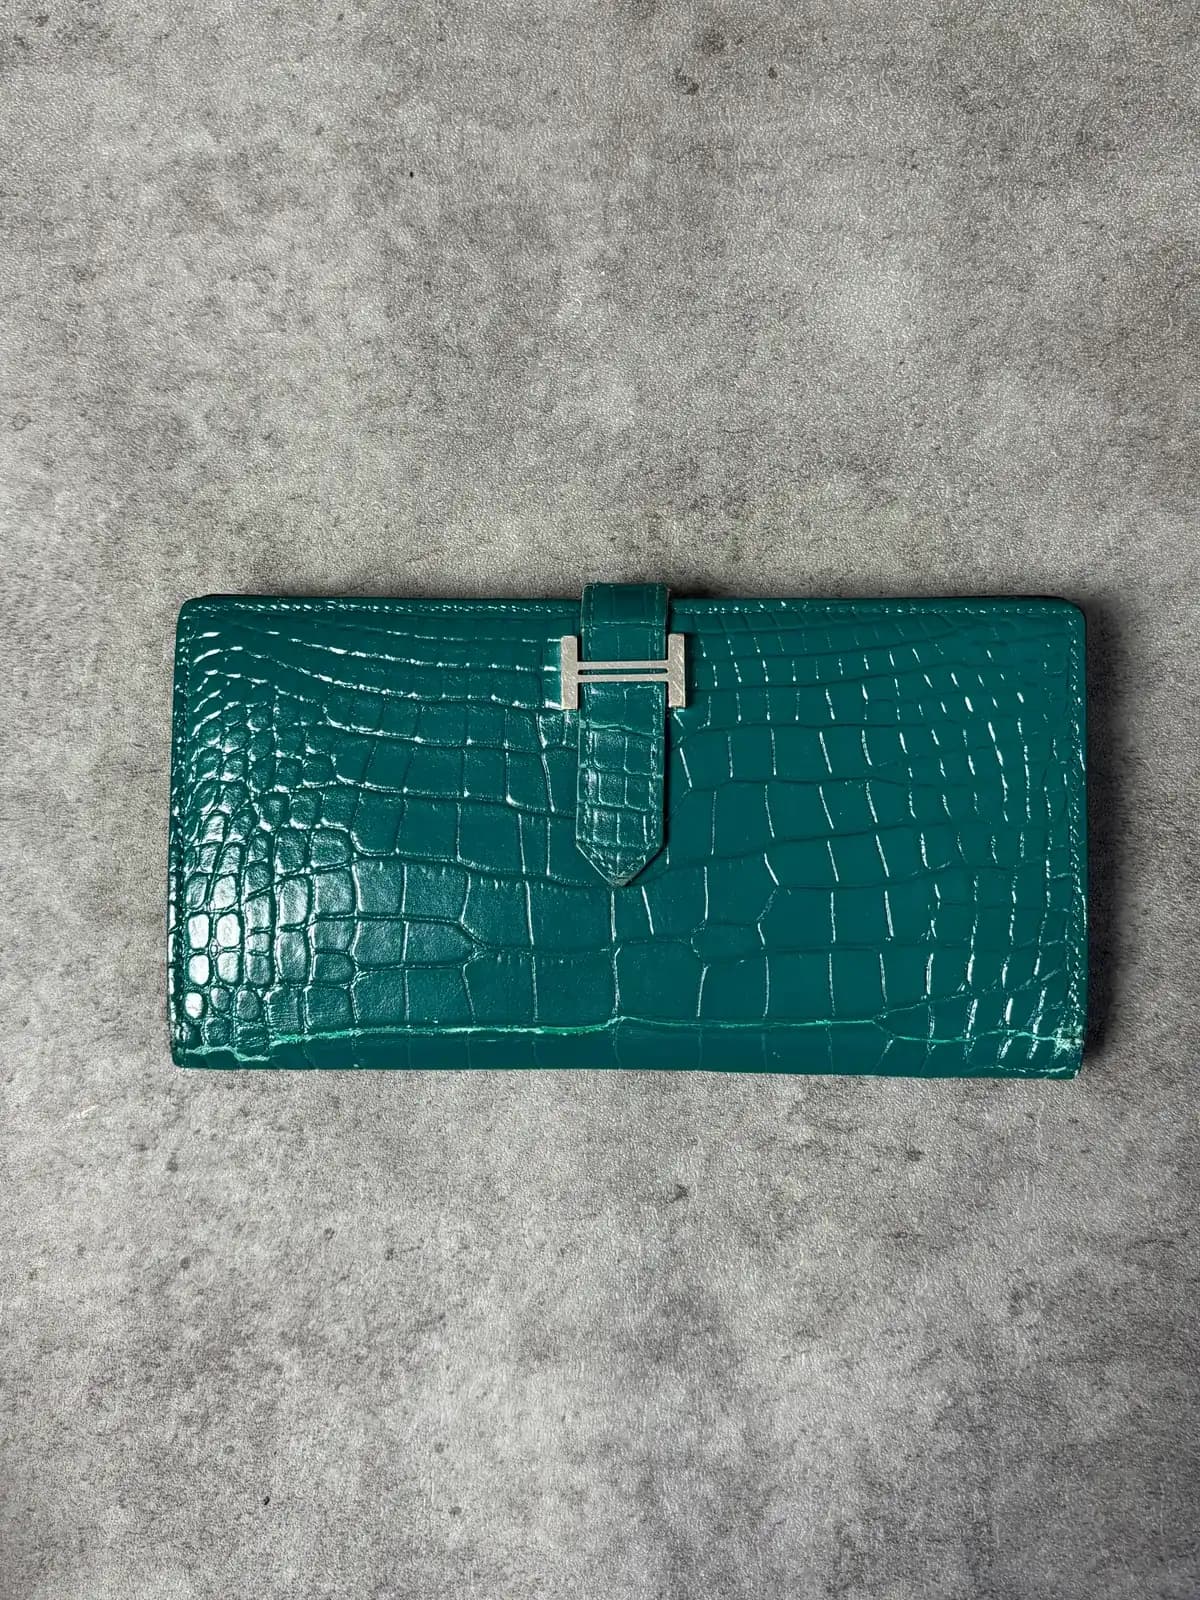
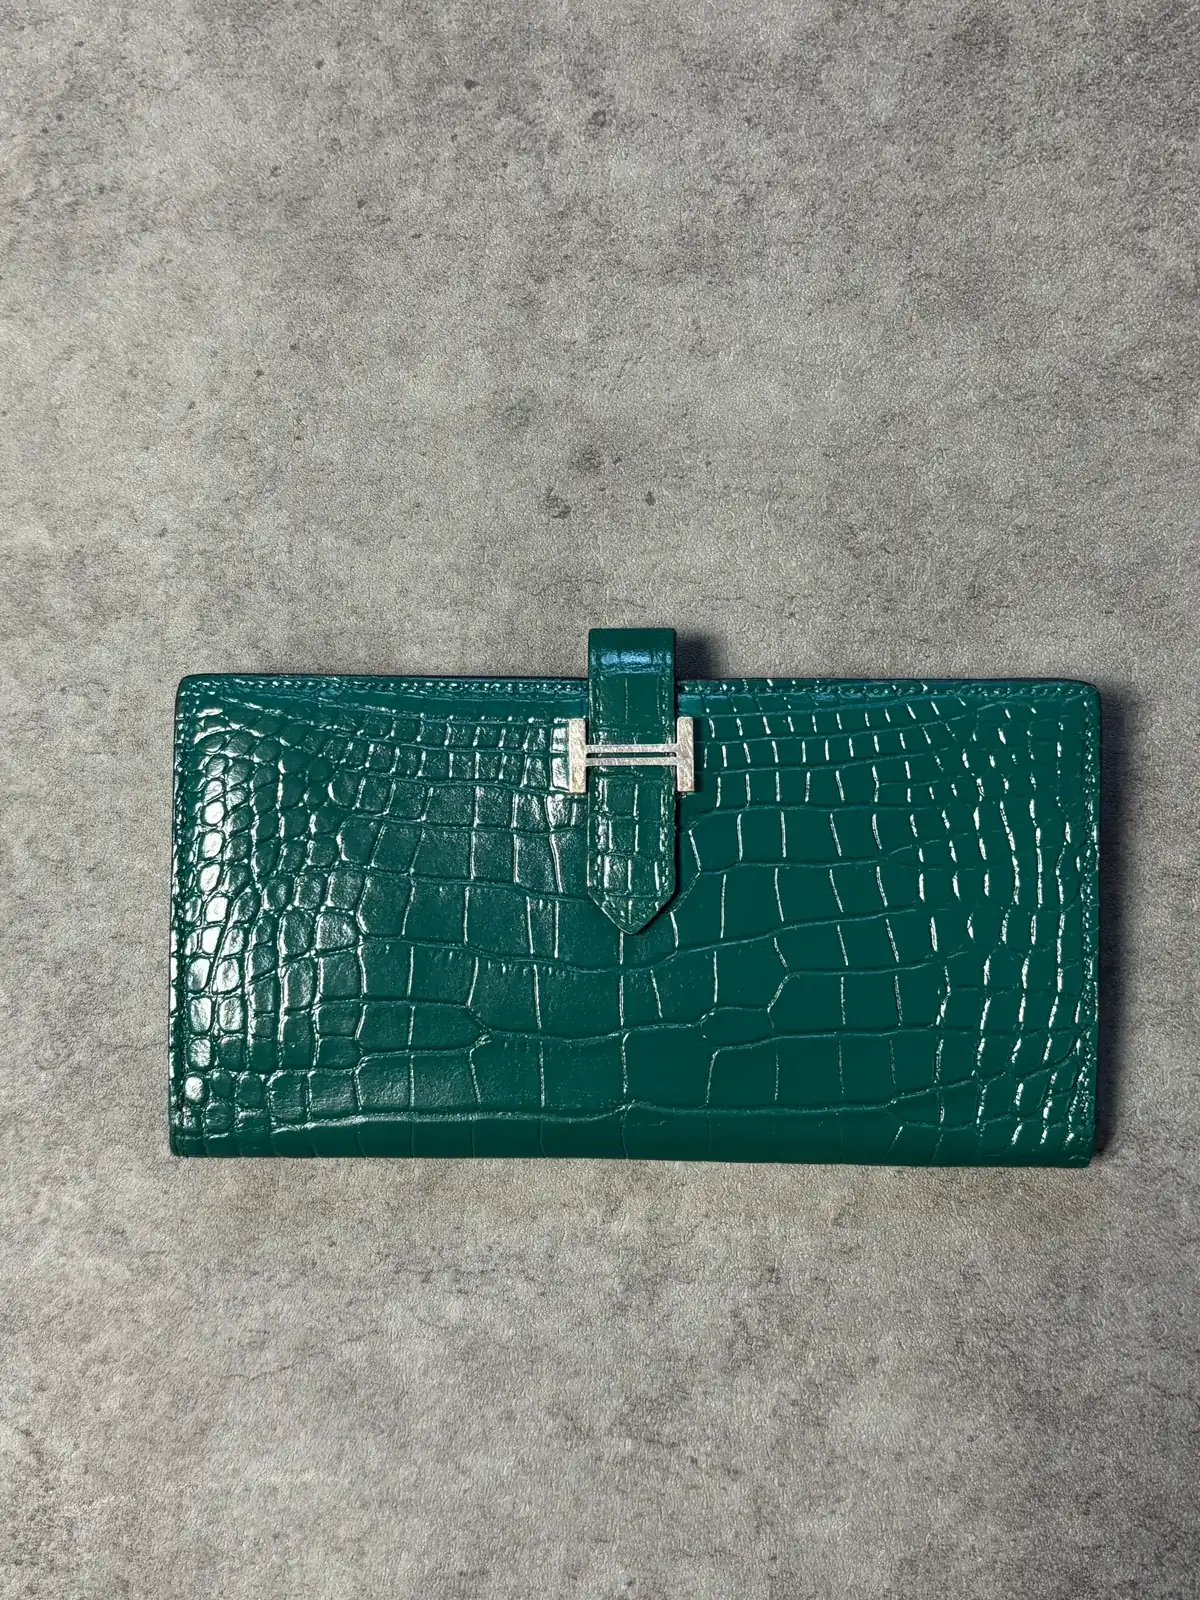
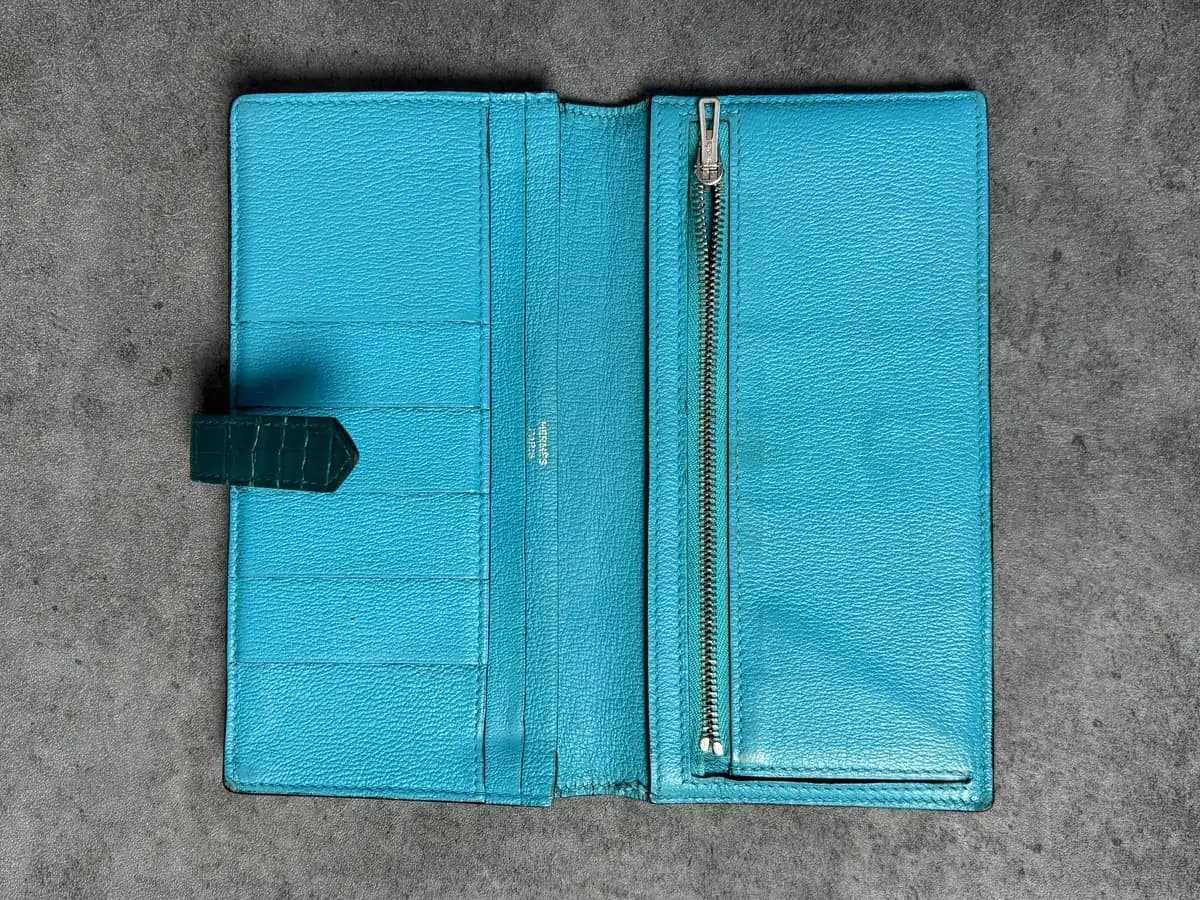
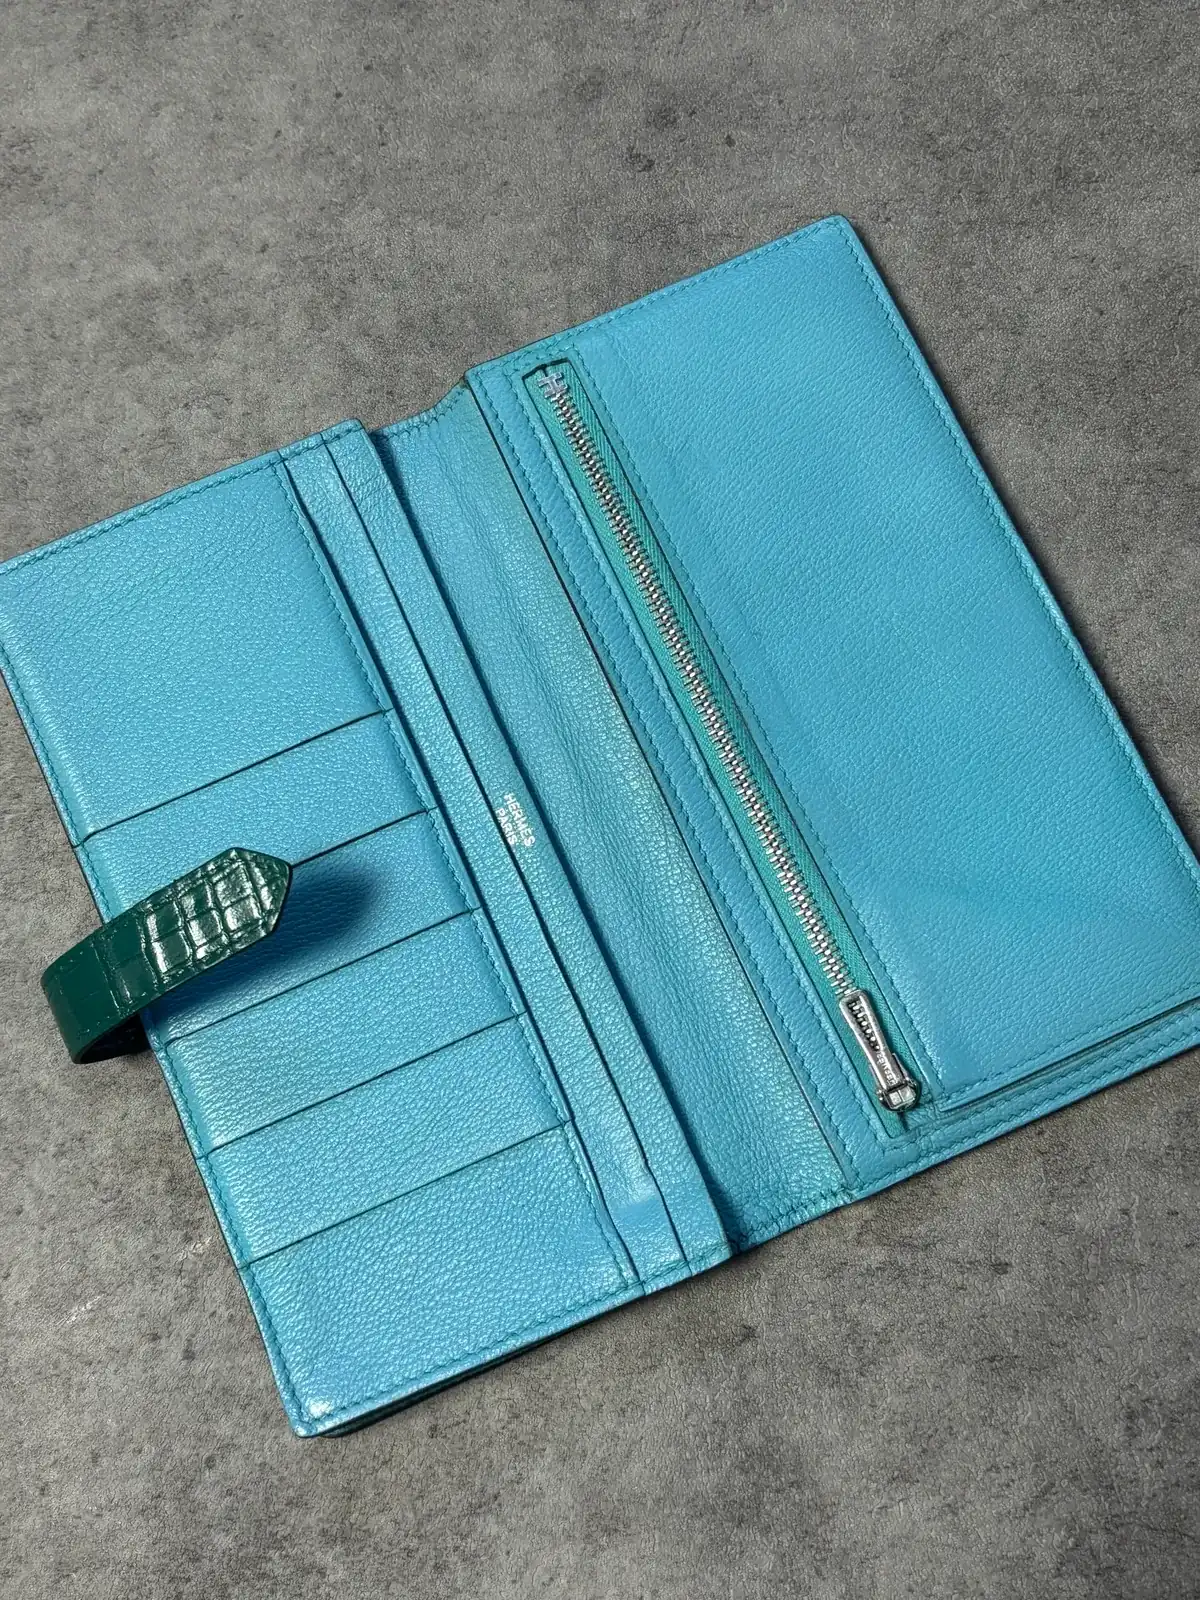
Green crocodile outside, blue leather inside. It came in after an earlier dye job: the colour varied from scale to scale and had bled at the corners and edges.
- Material
- Crocodile (green) · leather lining (blue) · silver H hardware
- Condition
- Patchy after an earlier dye job, with colour bled at the edges
- Photos
- 16 before · 13 after
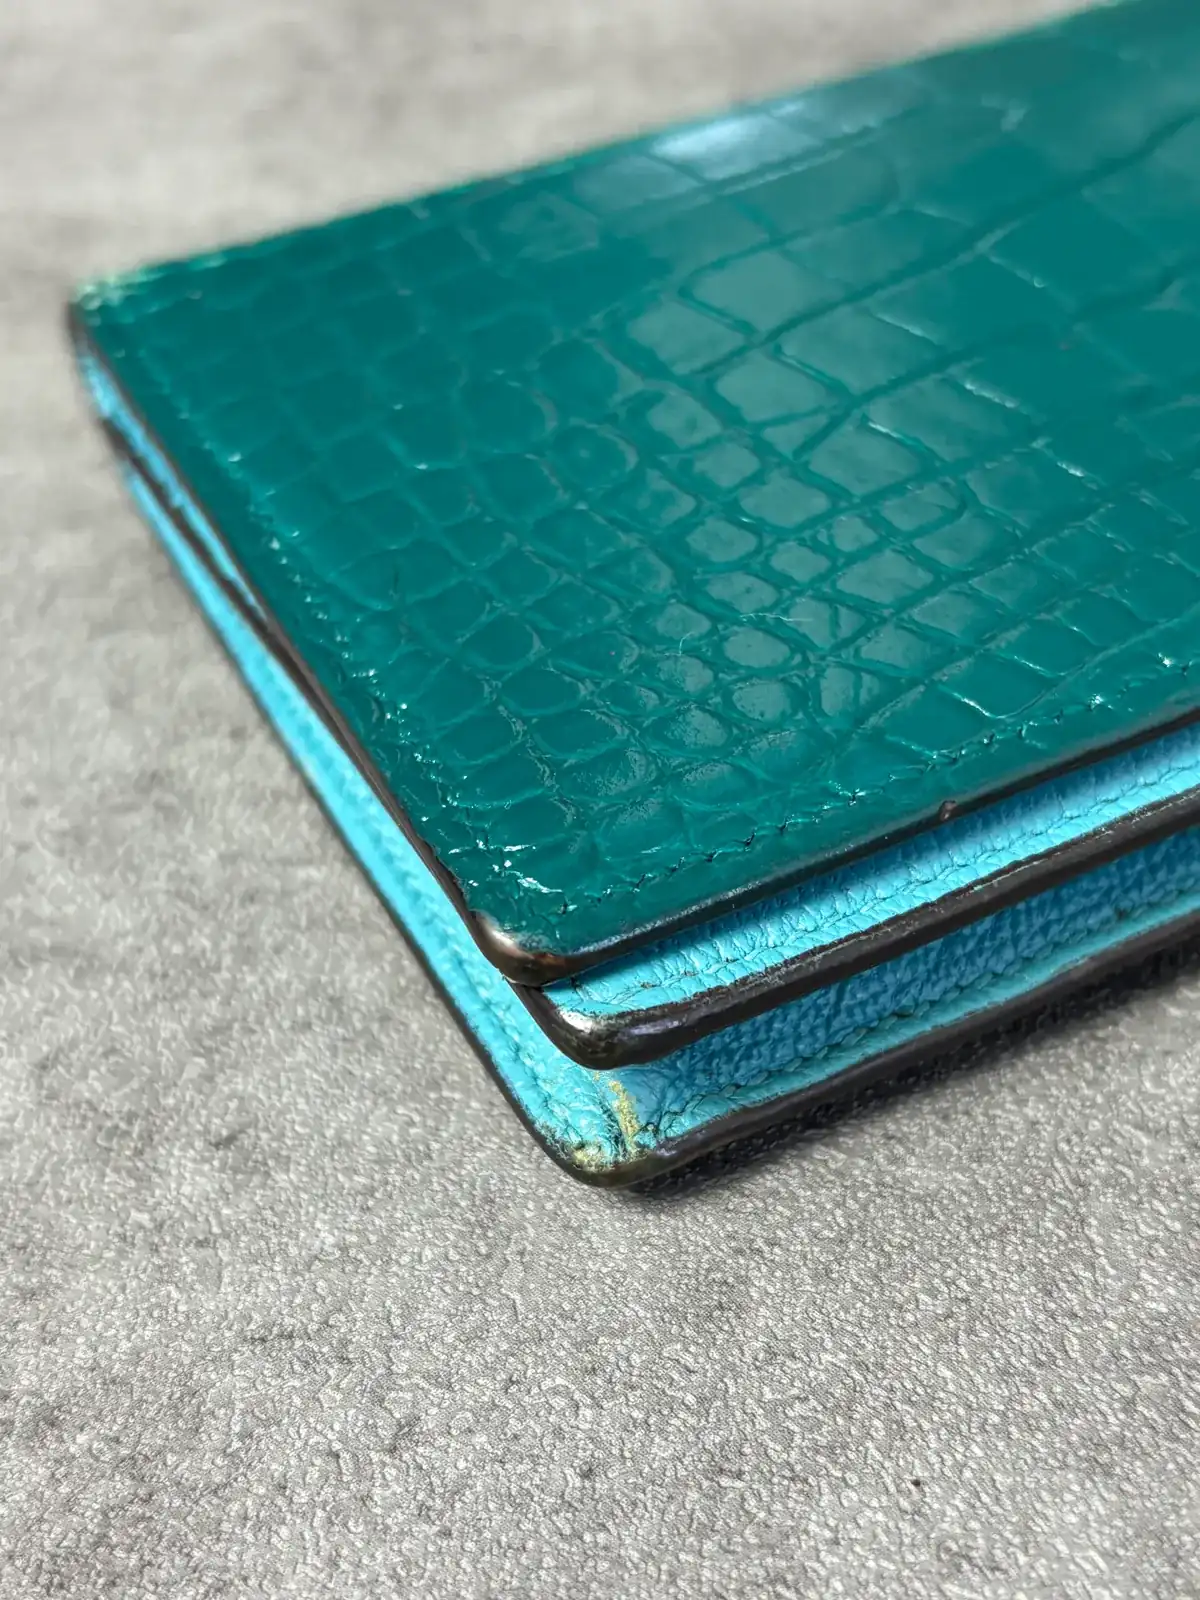
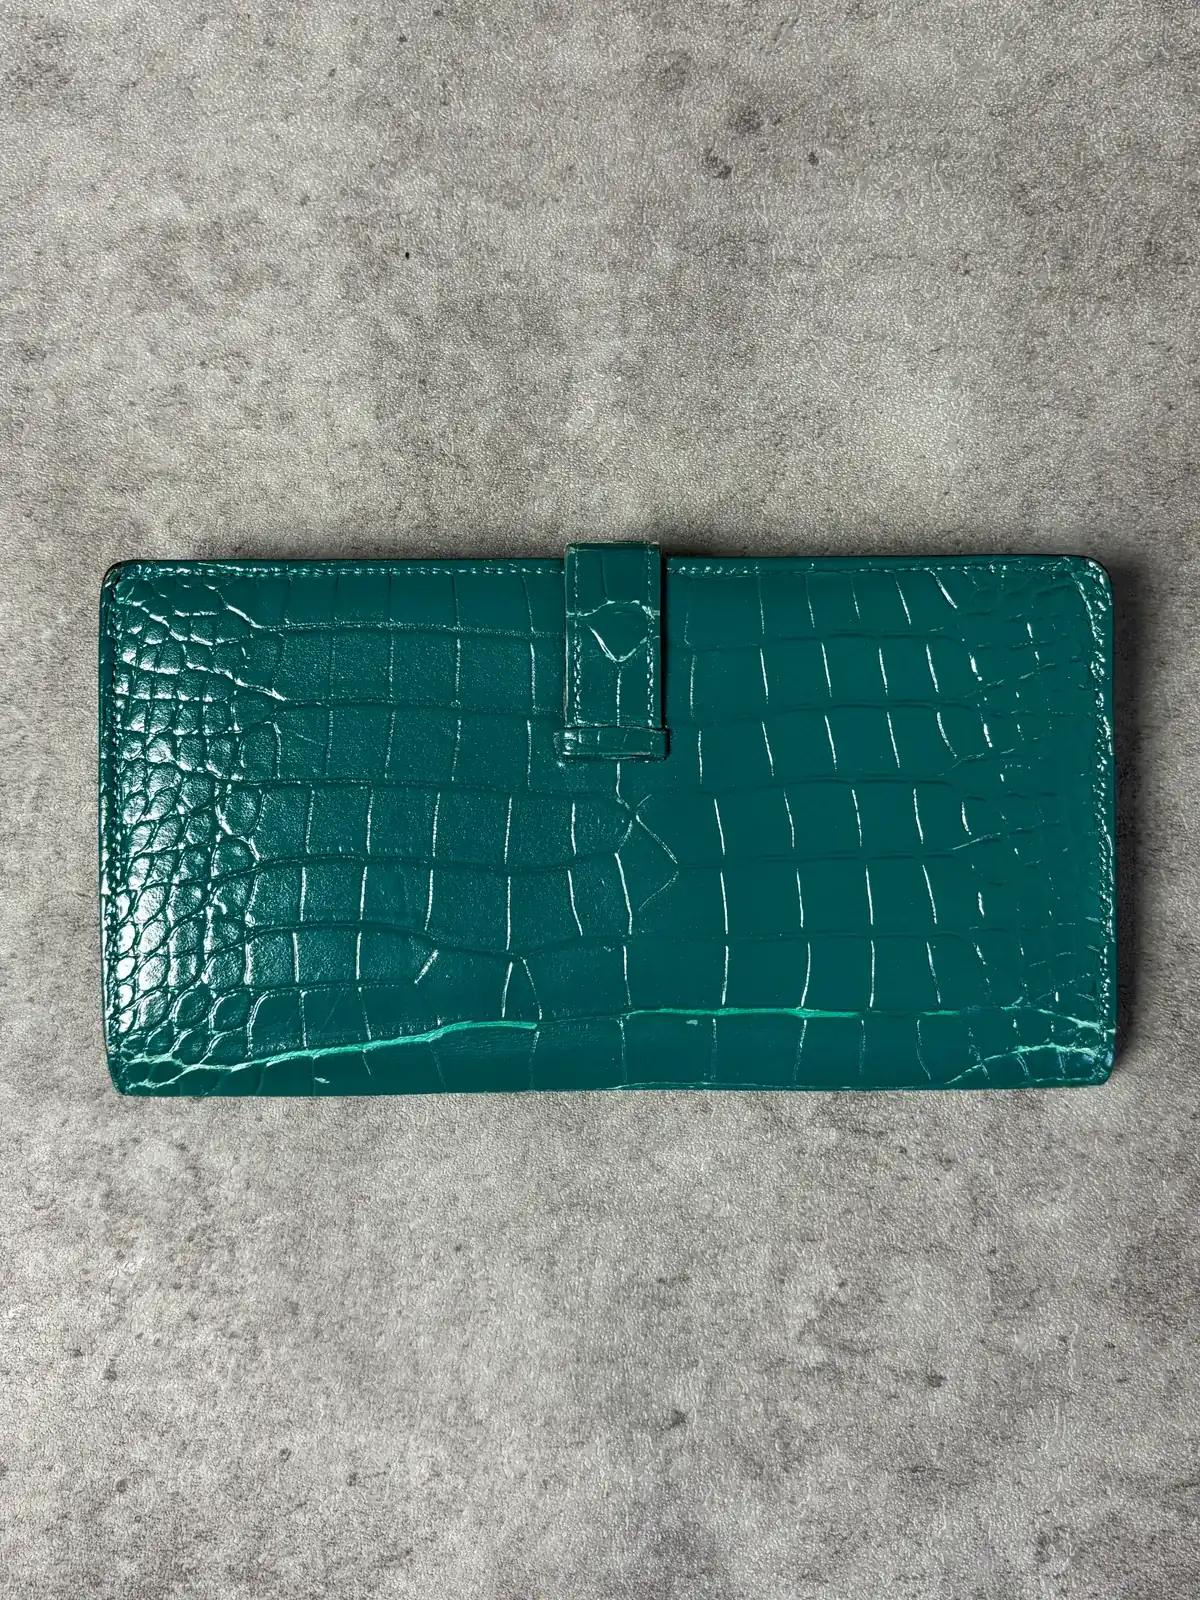
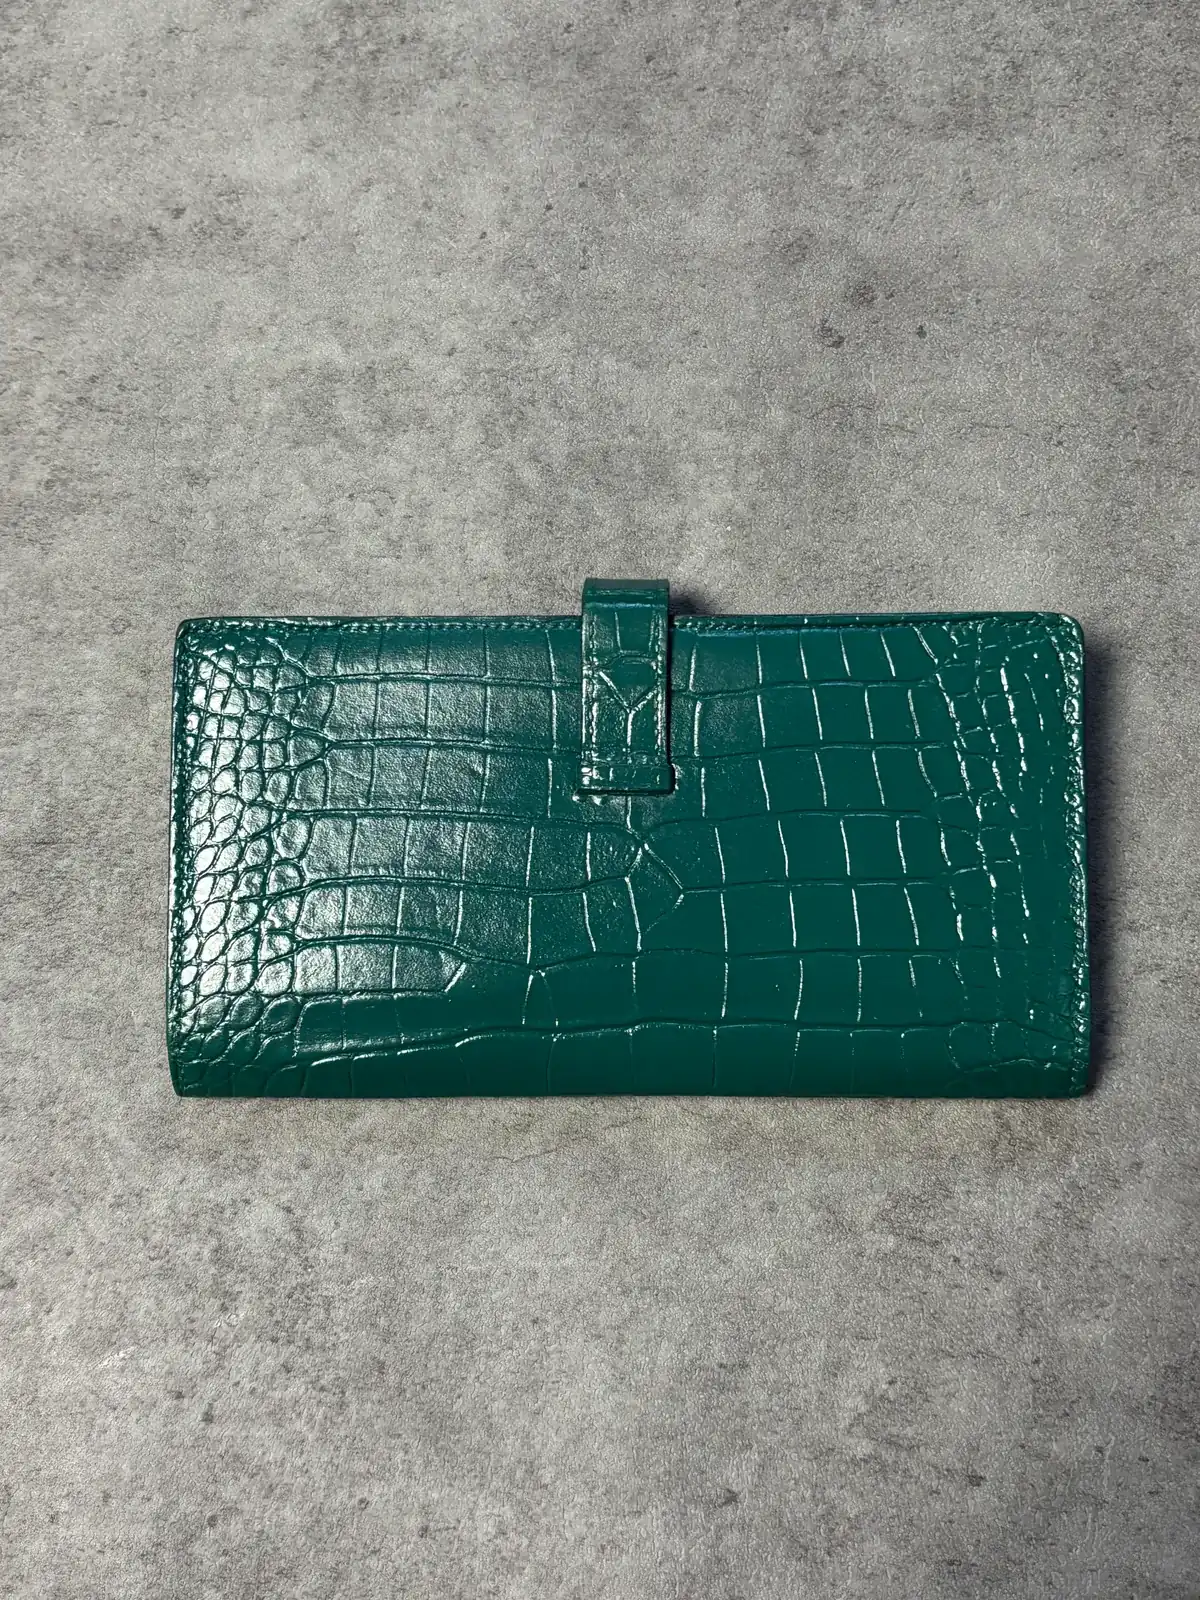
The after photo is only resized and moved to line up with the before photo. No colour or brightness changes.
03 / 07
Five places, actual photos.
The 3D model is a map for finding places. Choose a number to move in close and open the before and after photos of that place.
Places to look at
3D visualisation: the wallet marked with five numbers — each matches a place in the list below.
04 / 07
Move the light, and it reads differently.
Drag across the picture to change the light’s direction and height. With the angle and colour of the light, the shadows in the grooves and the gloss on the scales read differently. That is why only photos taken from the same direction are overlaid for comparison.
The lighting of this job’s photos was not recorded, so the photos themselves may differ slightly in light.
3D visualisation: the left of the front, close up, in the light you choose.
05 / 07
Prepare. Mix. Dye. Finish.
The order kept in the job record. Each step sits beside the actual photos of an area that shows its result.
There are no photos or video of this piece in progress. Each step shows before and after photos of the area where its result can be seen instead; process footage will be added as the atelier provides it.
This wallet’s record
Preparing the earlier dye layer
The earlier dye layer was prepared before any new colour went on.
Where to look Lower back — where the edges of the scales showed pale
Photos: before no. 4 · after no. 10 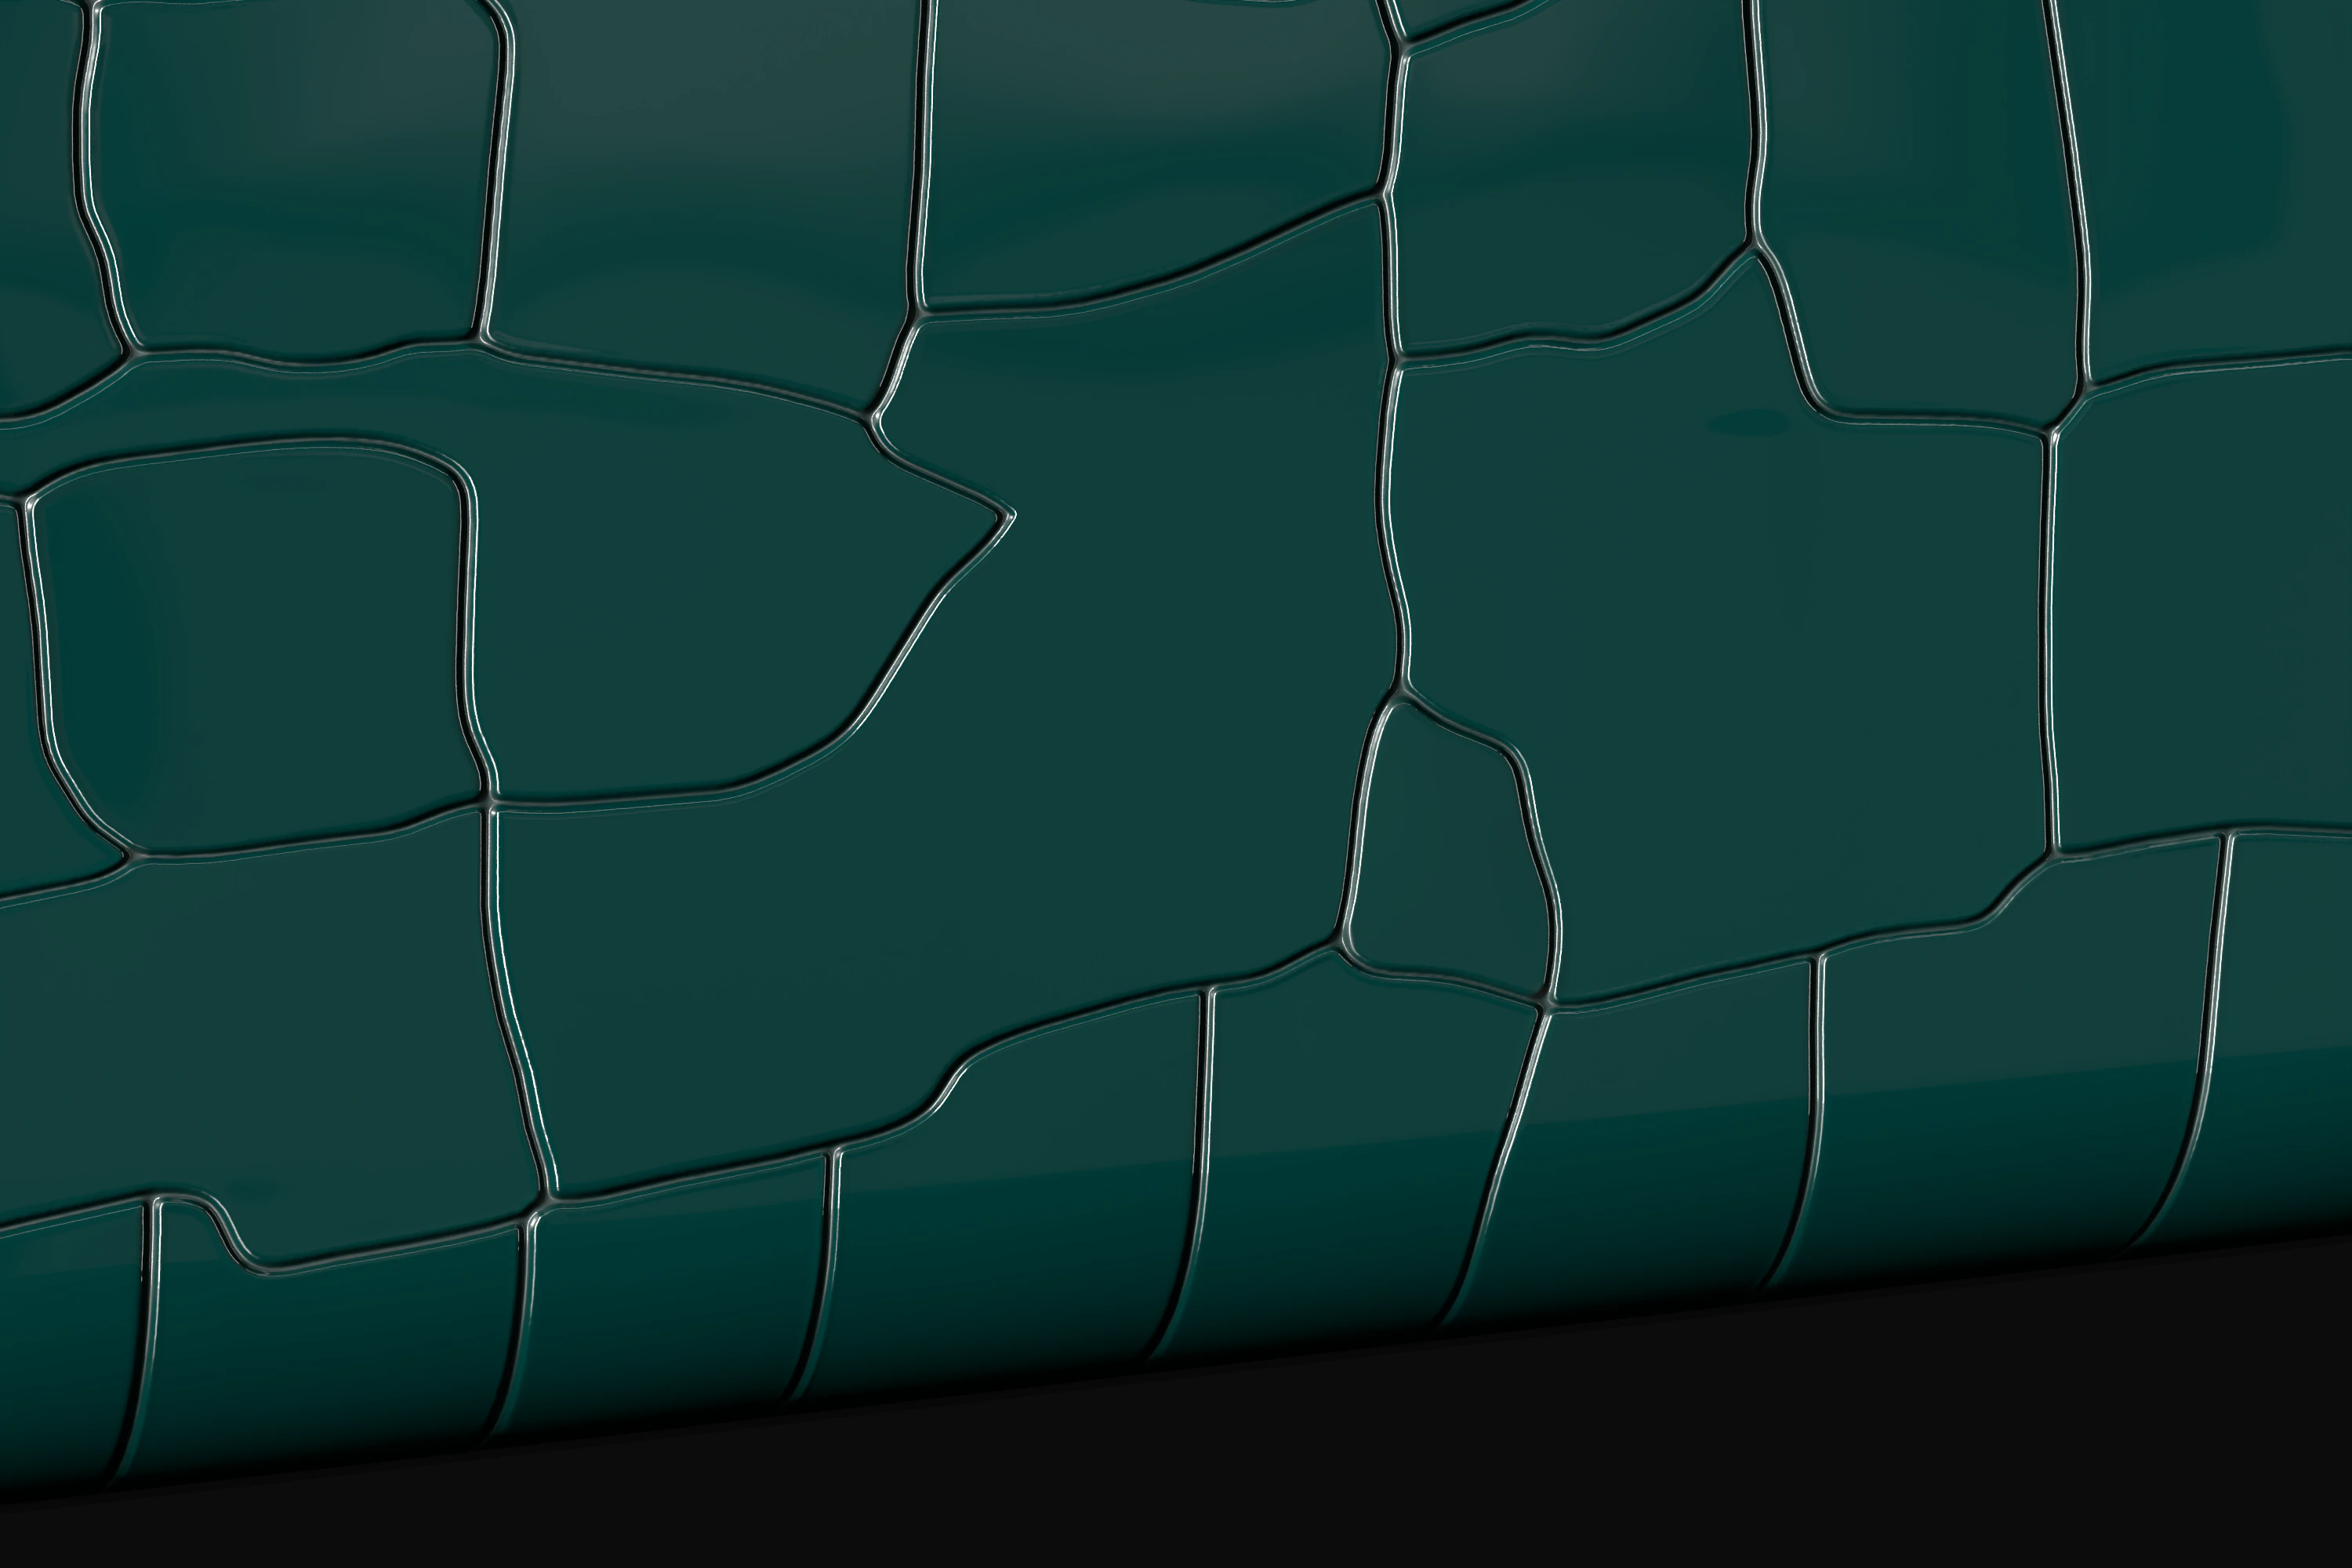
3D visualisation — not a photo of the jobThe 3D only shows where to look · its scales are traced from this wallet’s after photos This wallet’s record
Mixing the colour
The green was mixed again to match the original.
Where to look Lower left of the front — where the colour varied from scale to scale
Photos: before no. 1 · after no. 13 3D visualisation — not a photo of the jobThe 3D only shows where to look This wallet’s record
Re-dyeing
The re-mixed green was applied, kept off the blue interior leather.
Where to look The blue interior leather
Photos: before no. 8 · after no. 7 — The after photo was taken at an oblique angle; rotating and scaling alone cannot line it up, so the two are shown side by side. 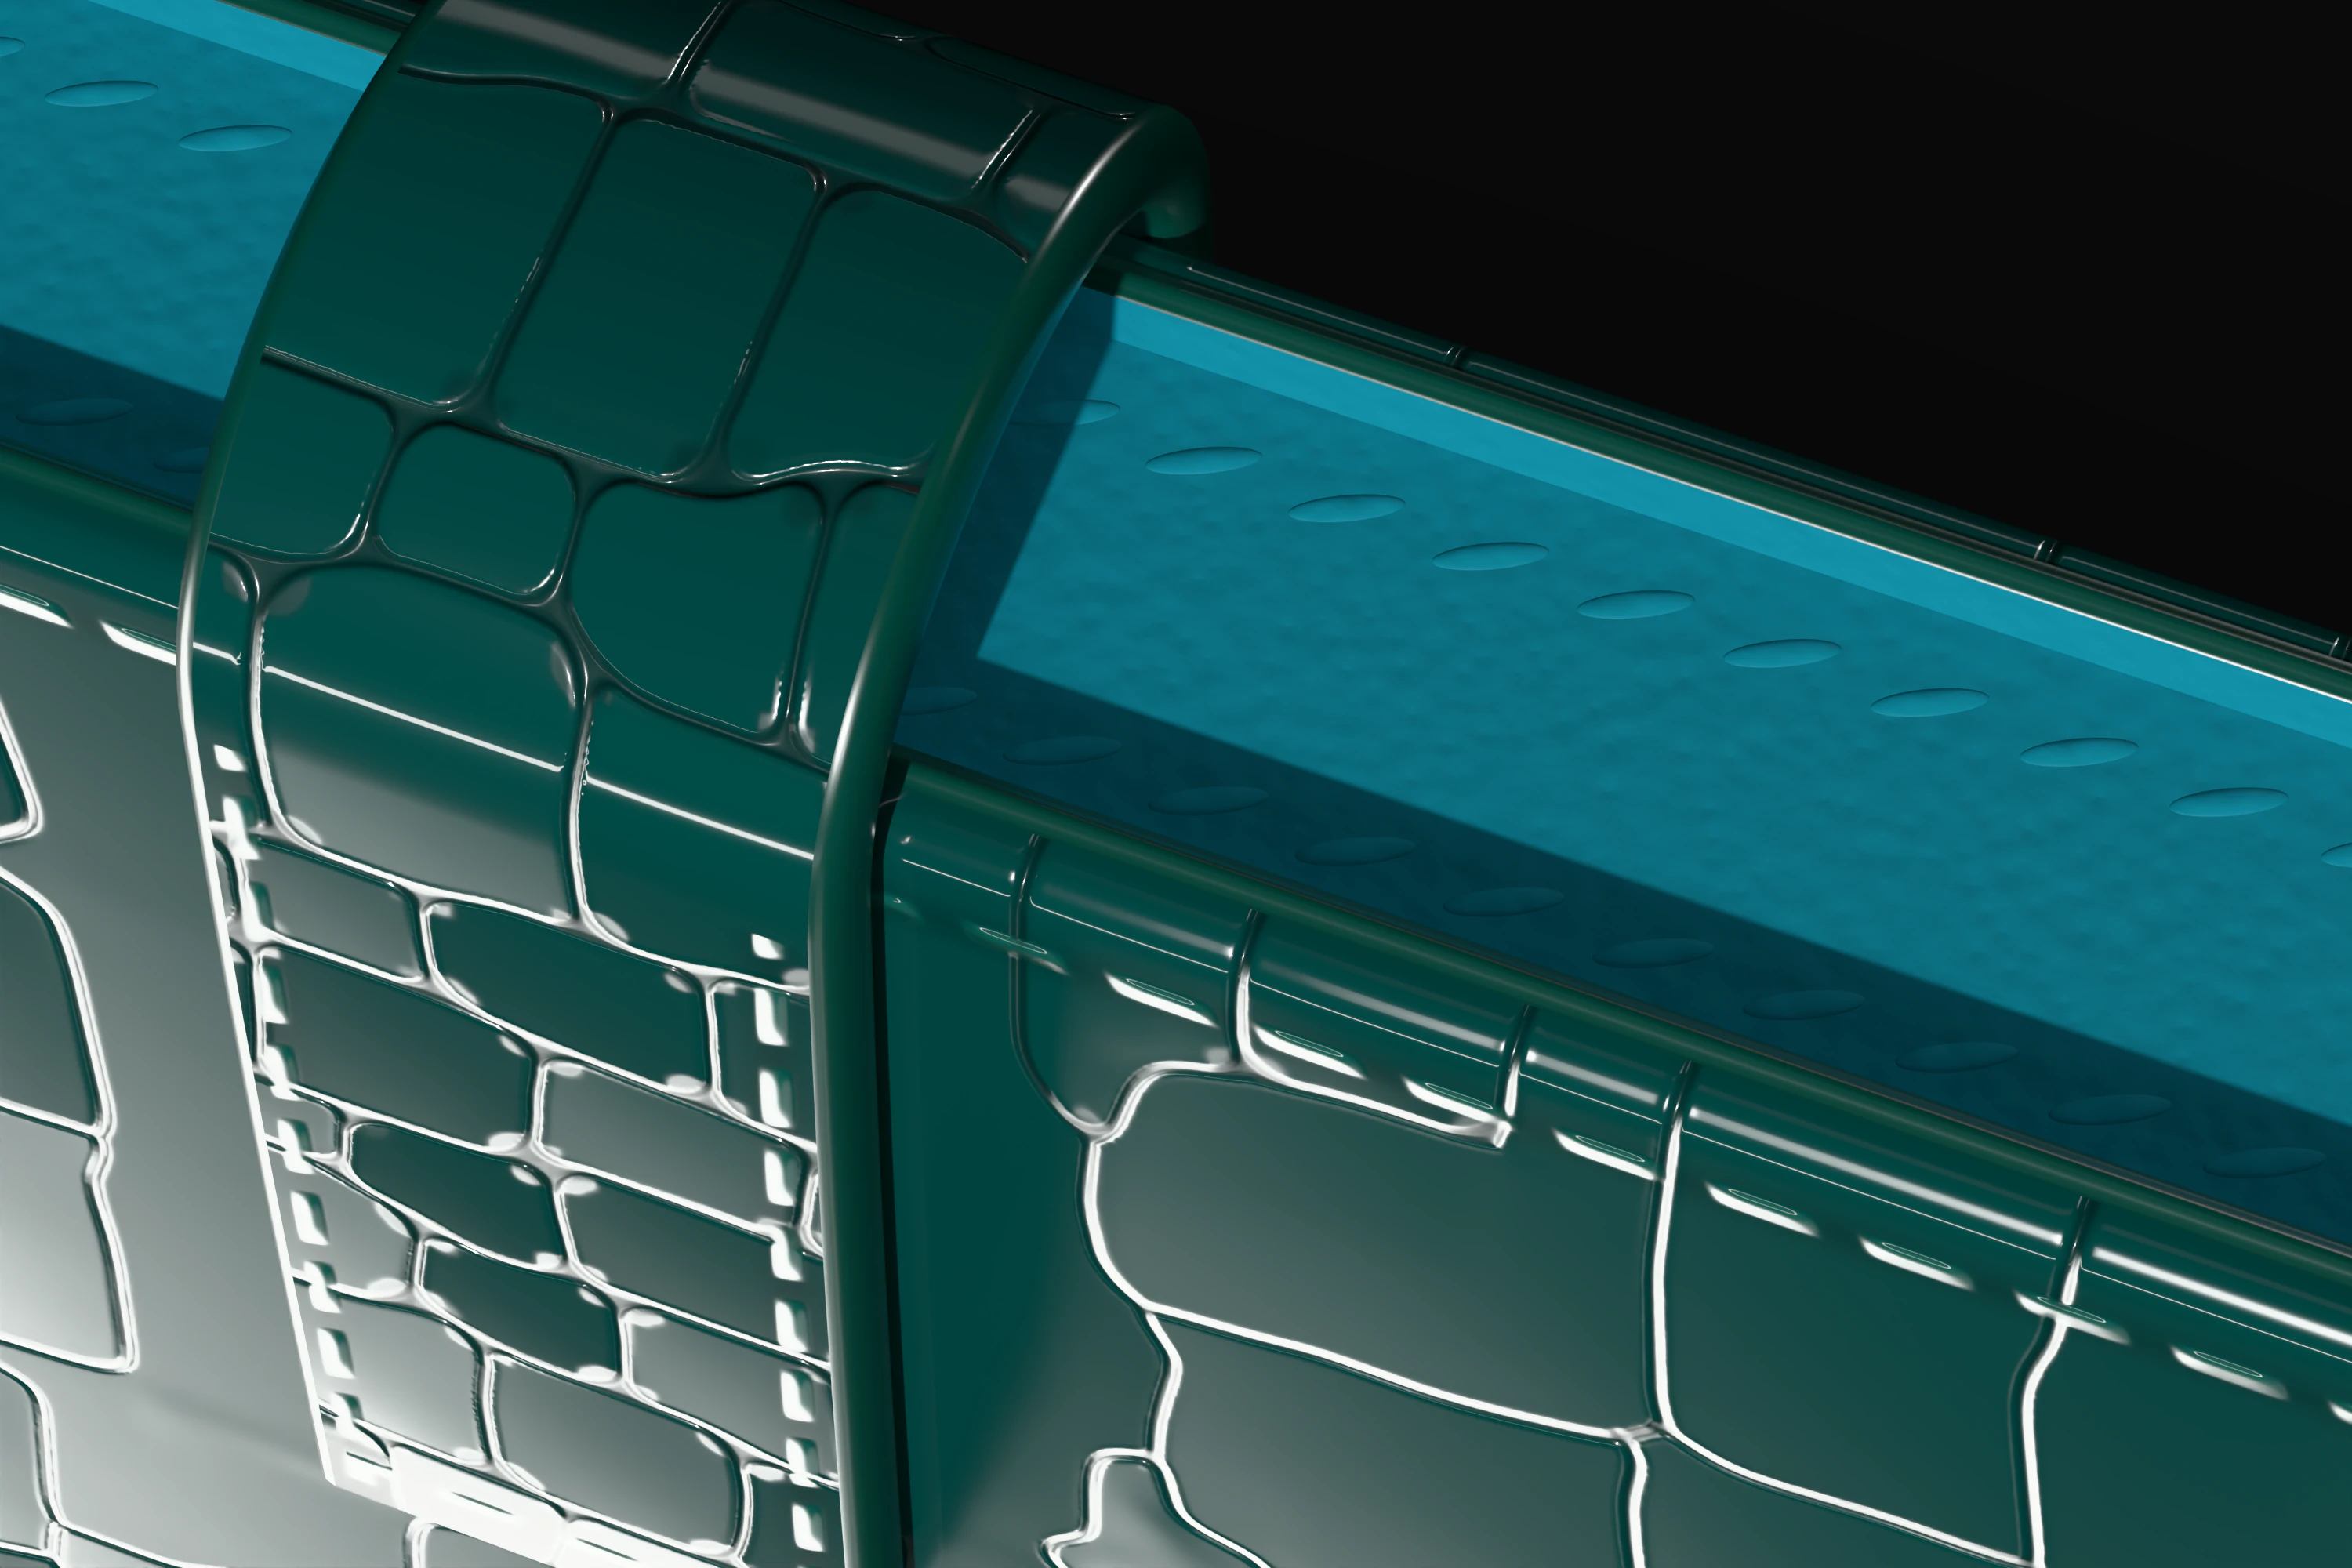
3D visualisation — not a photo of the jobThe 3D only marks where the lining is · see it in the photos This wallet’s record
Gloss finish
The last step in the work record. The finished surface can be seen up close around the H clasp.
Where to look Around the H clasp
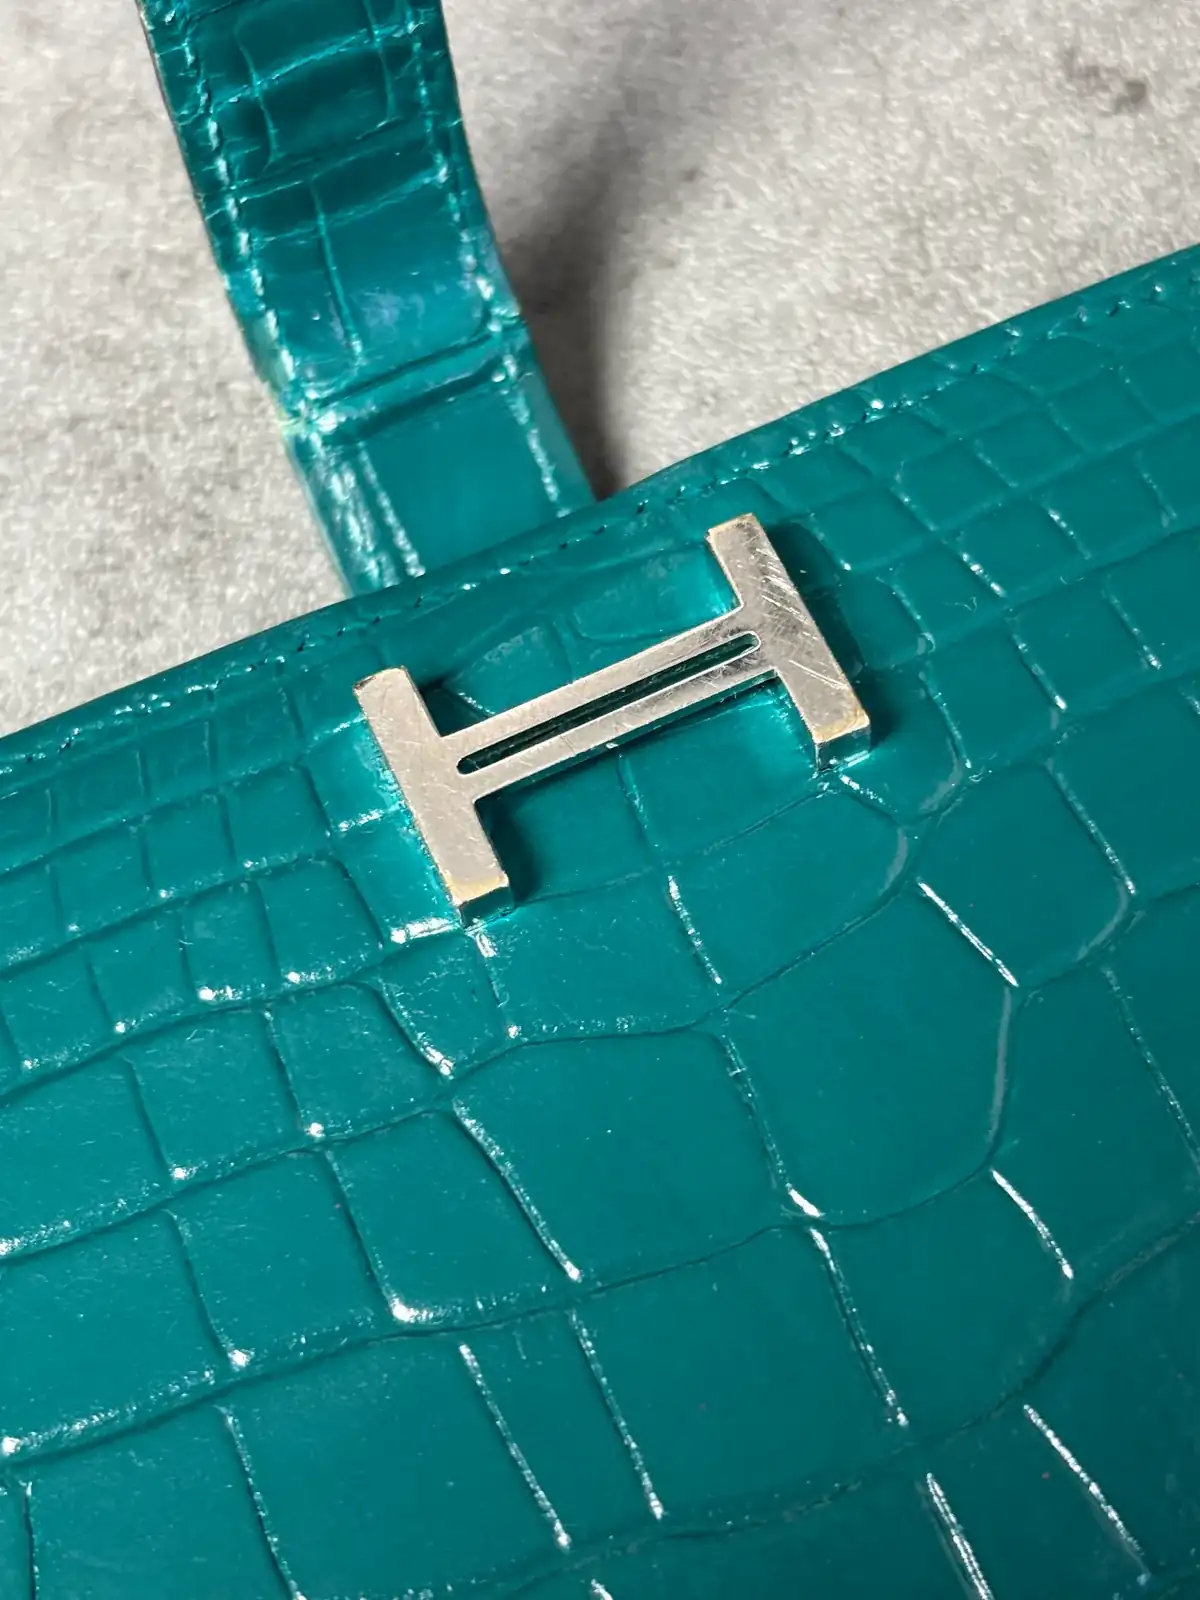
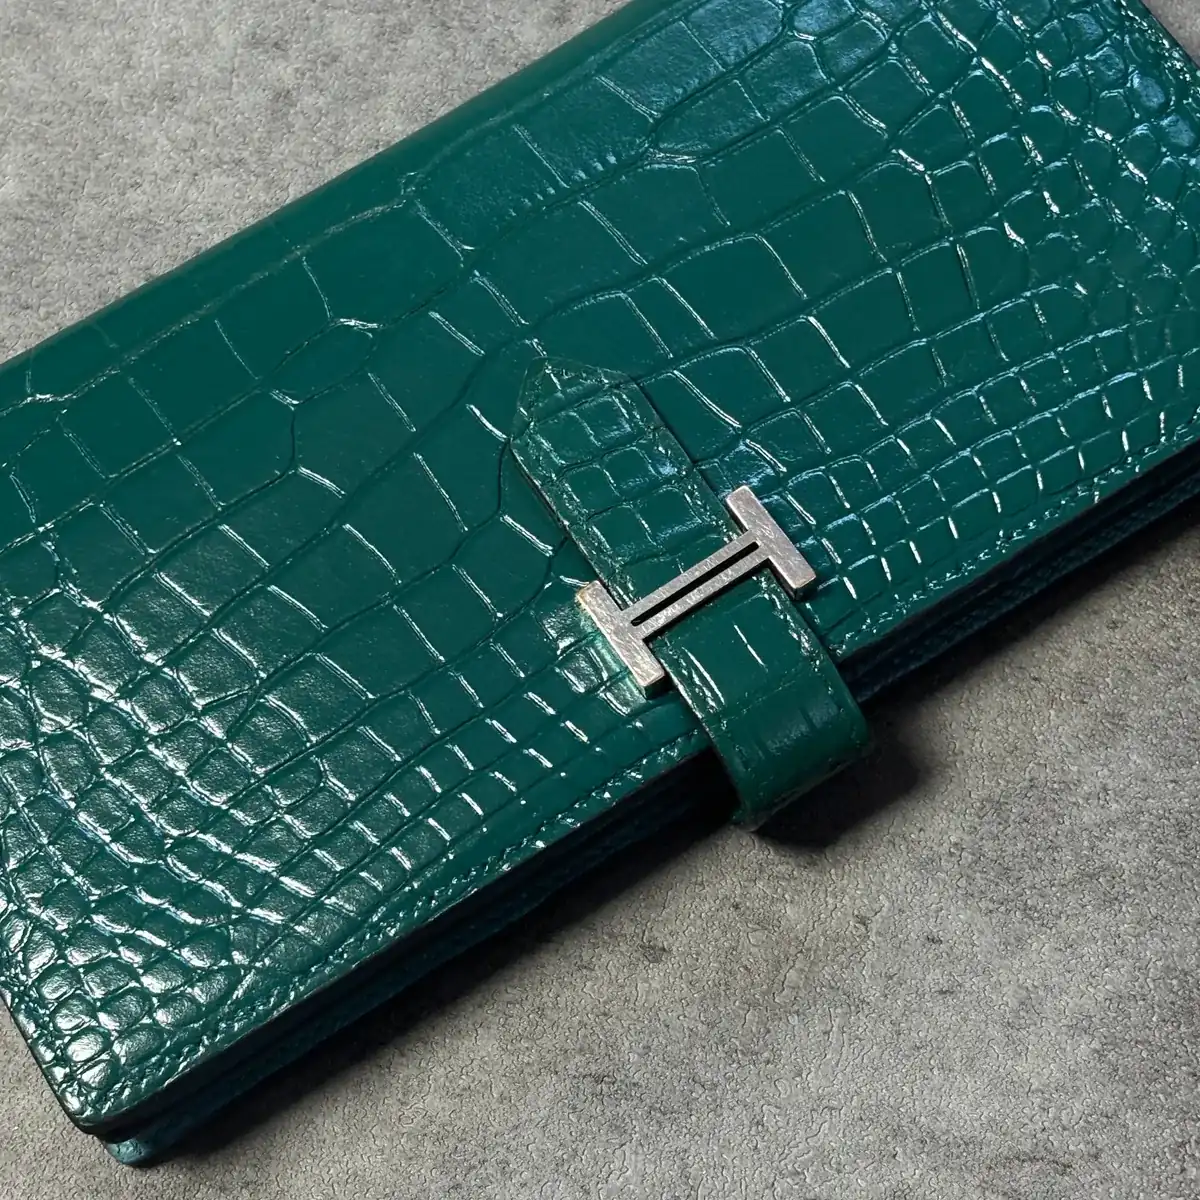
Photos: before no. 13 · after no. 1 — The after photo was taken with the strap fastened, from a different direction, so the two cannot be overlaid. They are shown side by side. 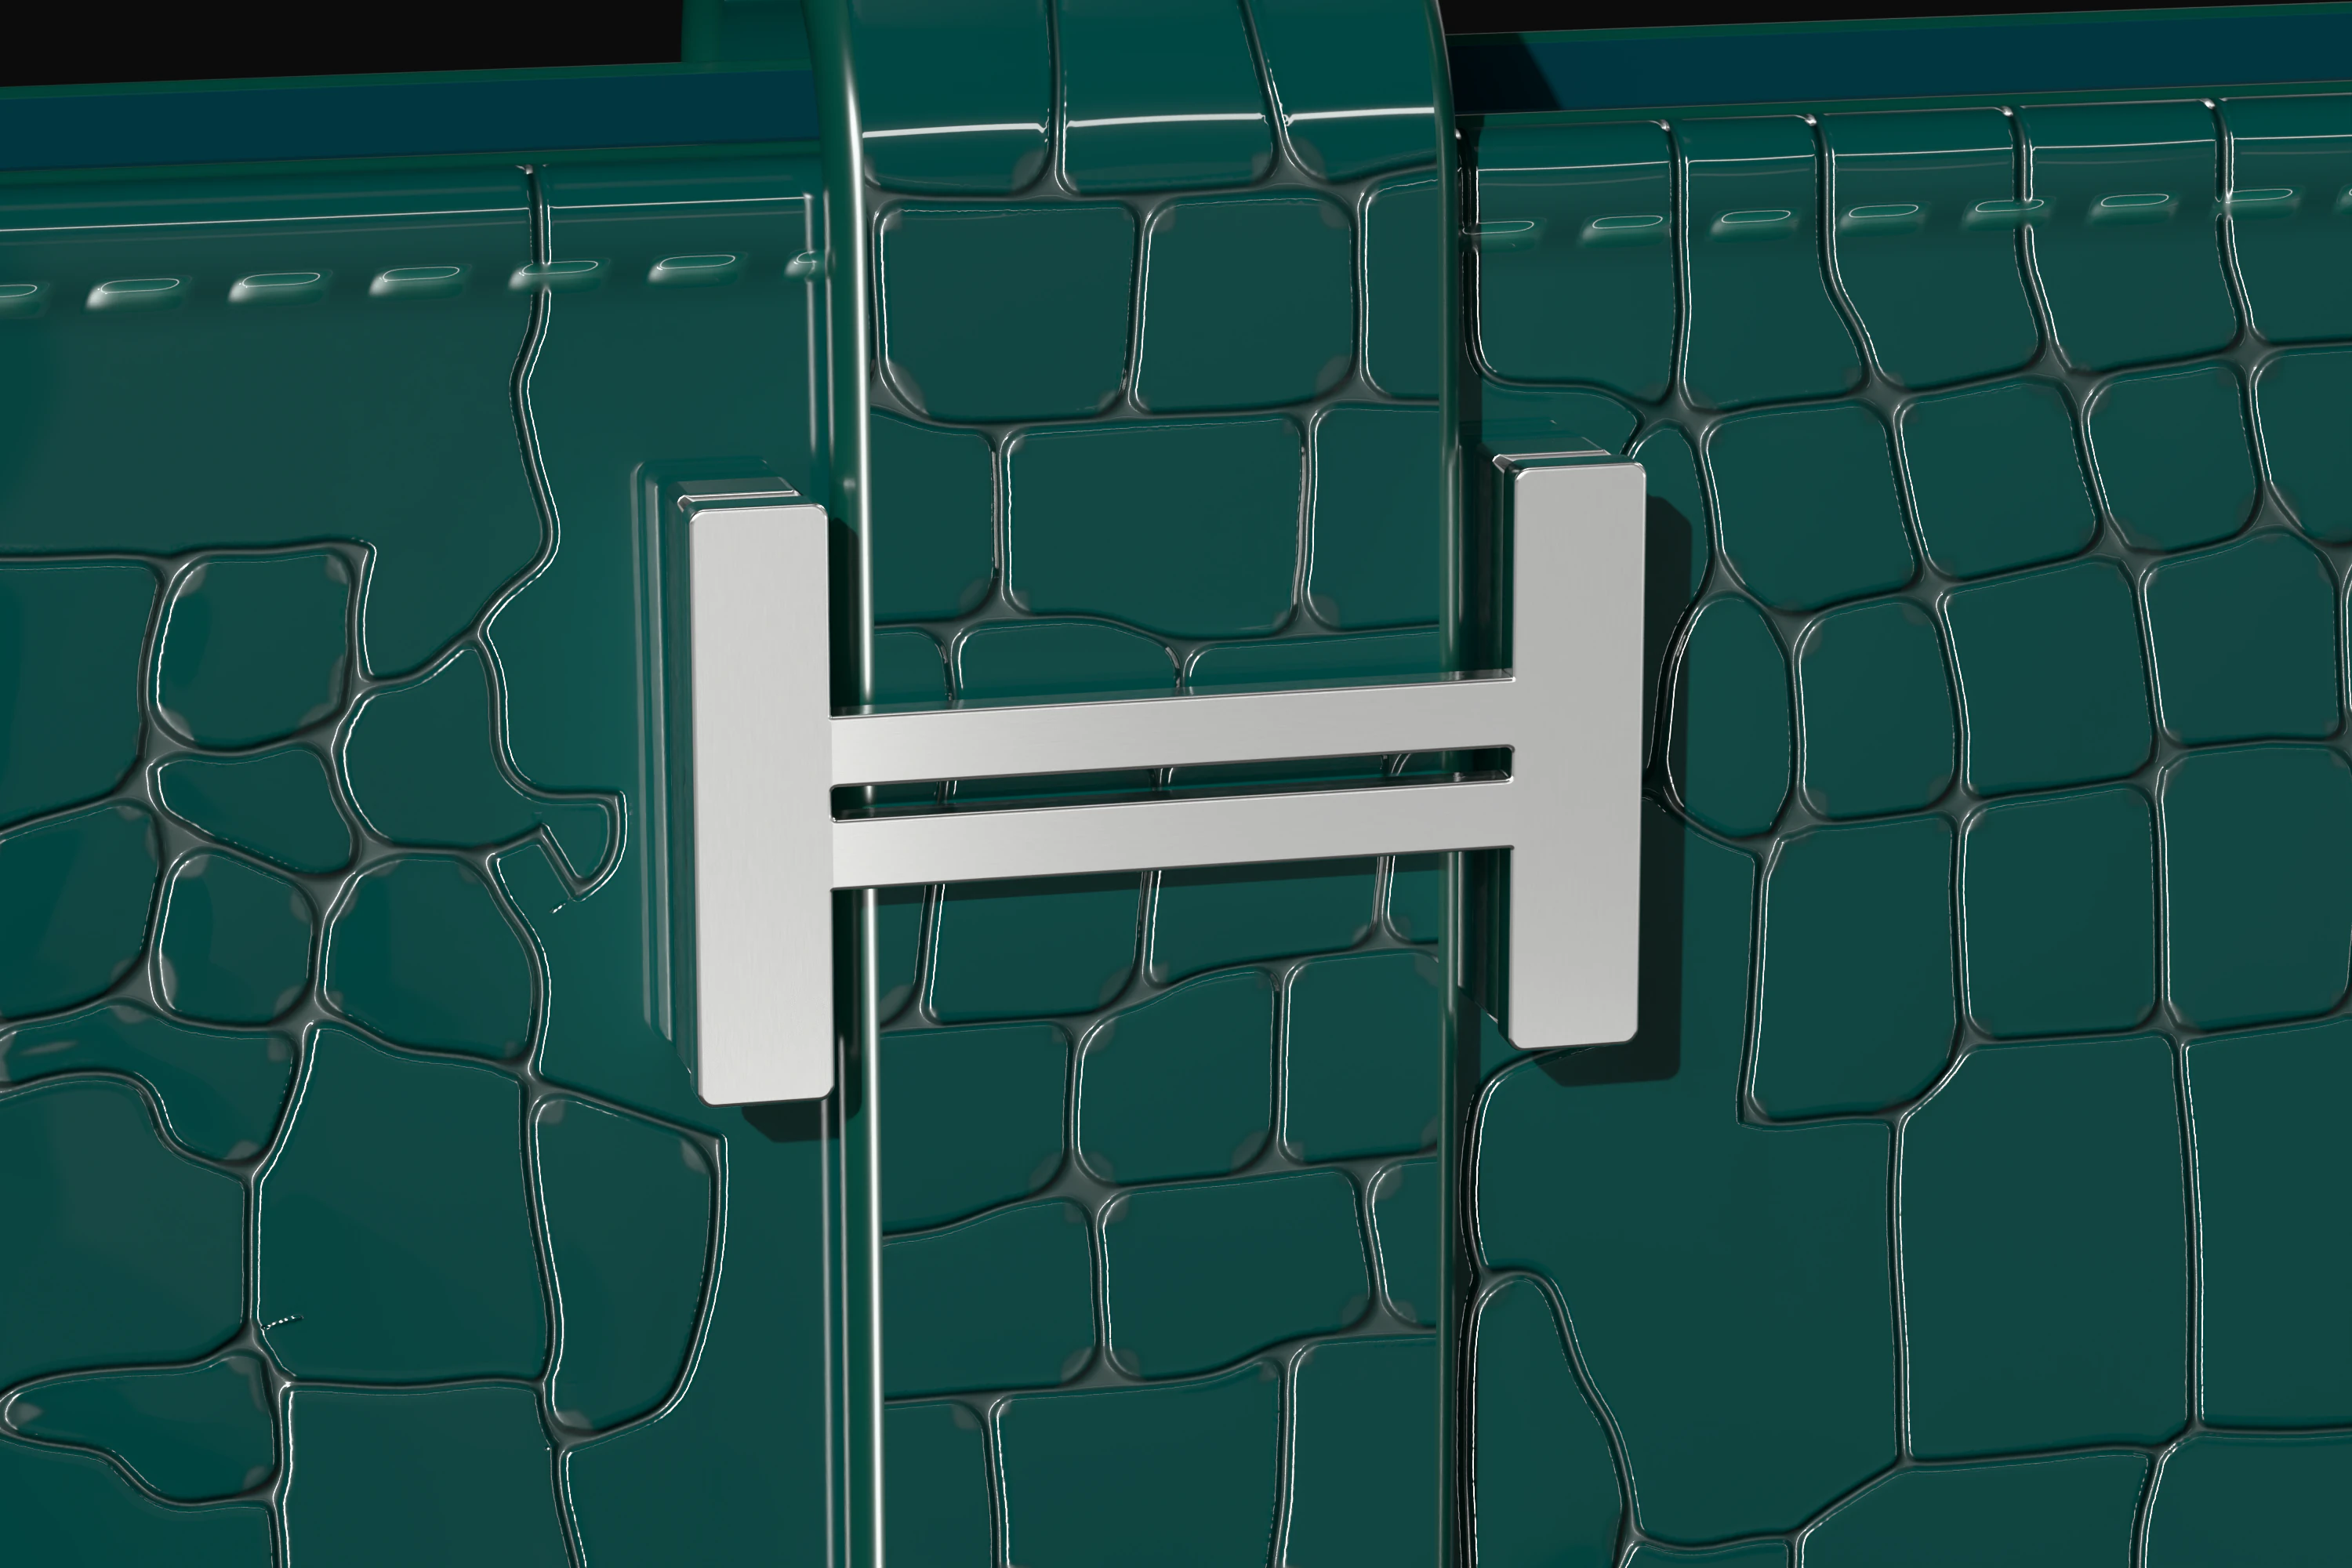
3D visualisation — not a photo of the jobThe 3D only shows where to look
For each step, the actual before and after photos of one area. The 3D still frames only show where to look. Swipe, or use the previous and next buttons.
 Explanatory visualization
A look at the dyeing process
Step through five stages, from arrival to finish, on a patch of crocodile scales, and move the light to see the sheen run across the scales. Dye can only take leather darker than its current colour, so the mixing step only offers colours darker than the current one.
- As it arrived
- Preparing the earlier dye layer
- Mixing the colour
- Dyeing
- Finishing
A visualization to explain the process — not a photo of actual work
The 3D engine downloads only when you press the button.
06 / 07
Front, side, back.
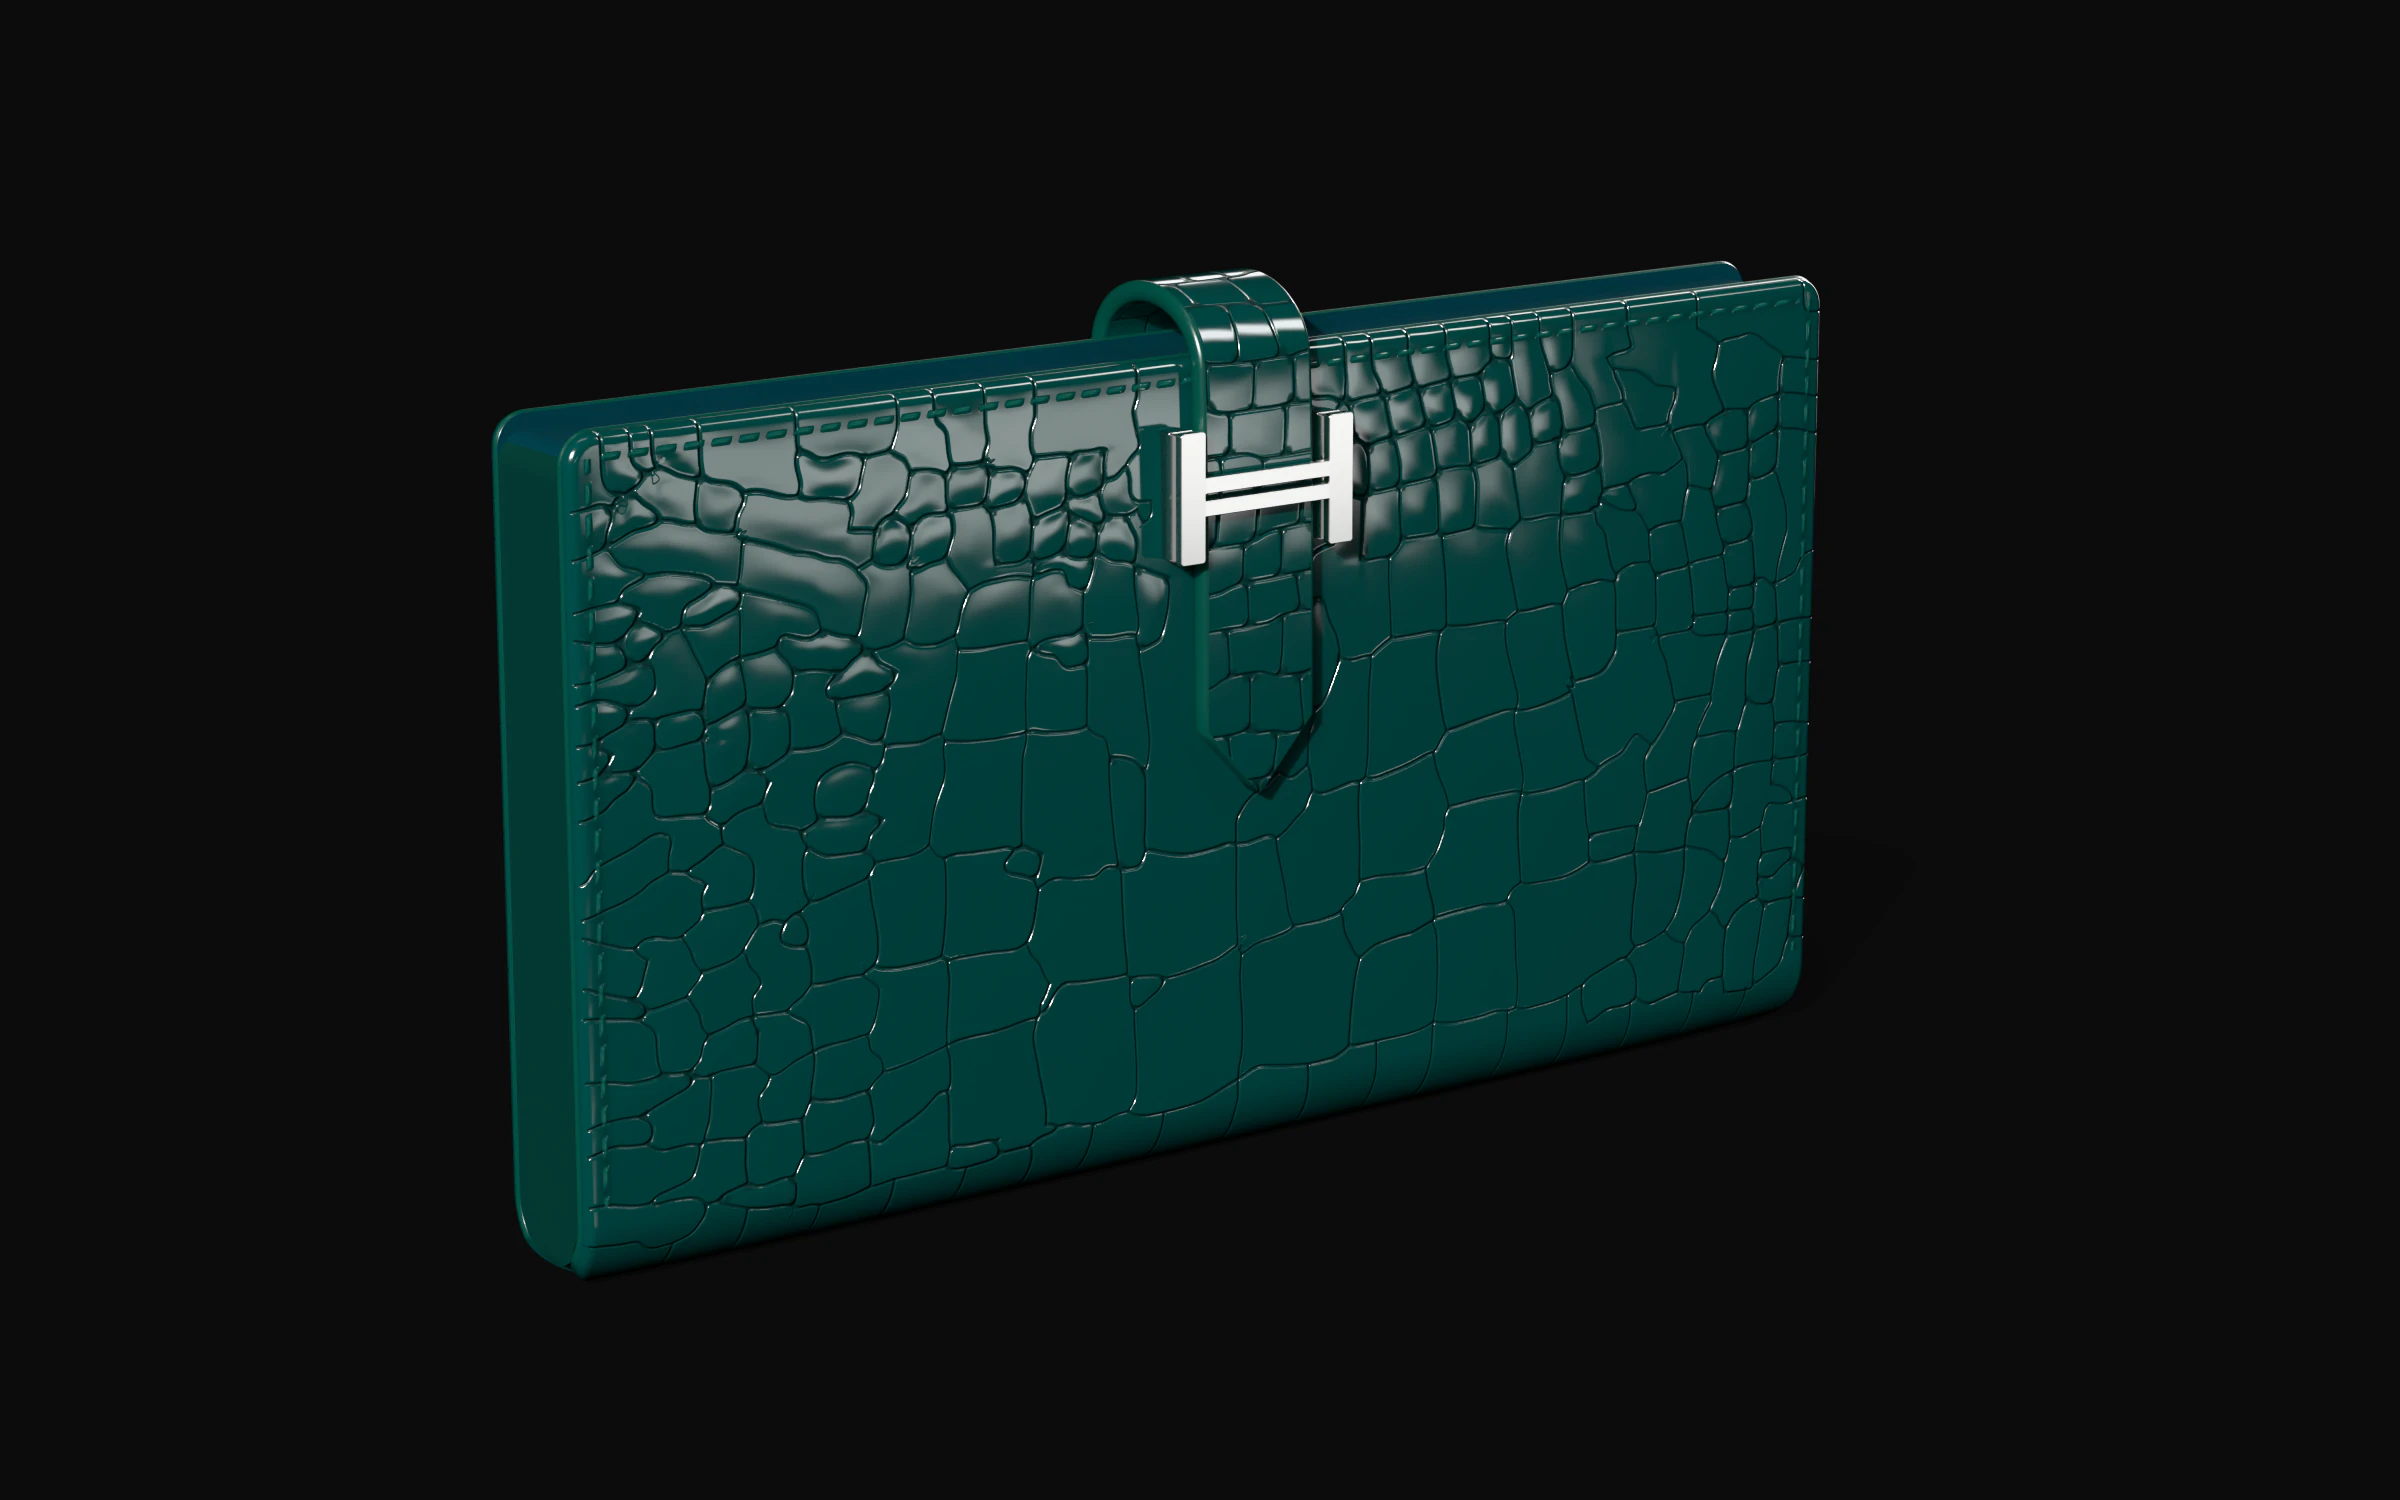
Drag to turn it, or choose a view. ‘Face’ matches the direction the comparison photos were taken from. Rest the pointer on the wallet to look closer through a loupe.
3D visualisation: the whole wallet from the chosen direction.
- 29photos of this job
- 16before
- 13after
The record
The piece
- Item
- Hermès Béarn wallet
- Exterior
- Crocodile · green
- Lining
- Leather · blue
- Hardware
- Silver H hardware
Condition and work
- As it arrived
- Patchy after an earlier dye job, with colour bled at the edges
- Work
- Earlier dye layer prepared → colour mixed → re-dyed → gloss finish
- Colour (as recorded)
- Patchy green → green — see the after photos for the colour
- Lining
- Kept free of the green during re-dyeing
Photos and 3D
- Photos
- 16 before · 13 after (originals 1200 px wide)
- Photo conditions
- Not recorded
- Photos on this page
- Cropping, uniform scaling and web compression only — no colour or brightness changes
- 3D
- An explanatory 3D visualisation. Proportions are estimated from the photos, and the central front scales were redrawn from an AI 3D draft; the scales of the upper band, corners and back are a generic crocodile pattern, not this wallet’s layout. Not a photo of the job.
- 3D colour and gloss
- Not the result — the after photos are.
Dye can only take leather darker than its current colour, never lighter.
07 / 07
If yours looks similar.
Send photos on Instagram to talk it through — photos of the whole bag and the problem area help. Businesses can see our partnership page.
See the full record and all 29 photos