04Partial re-dyeing
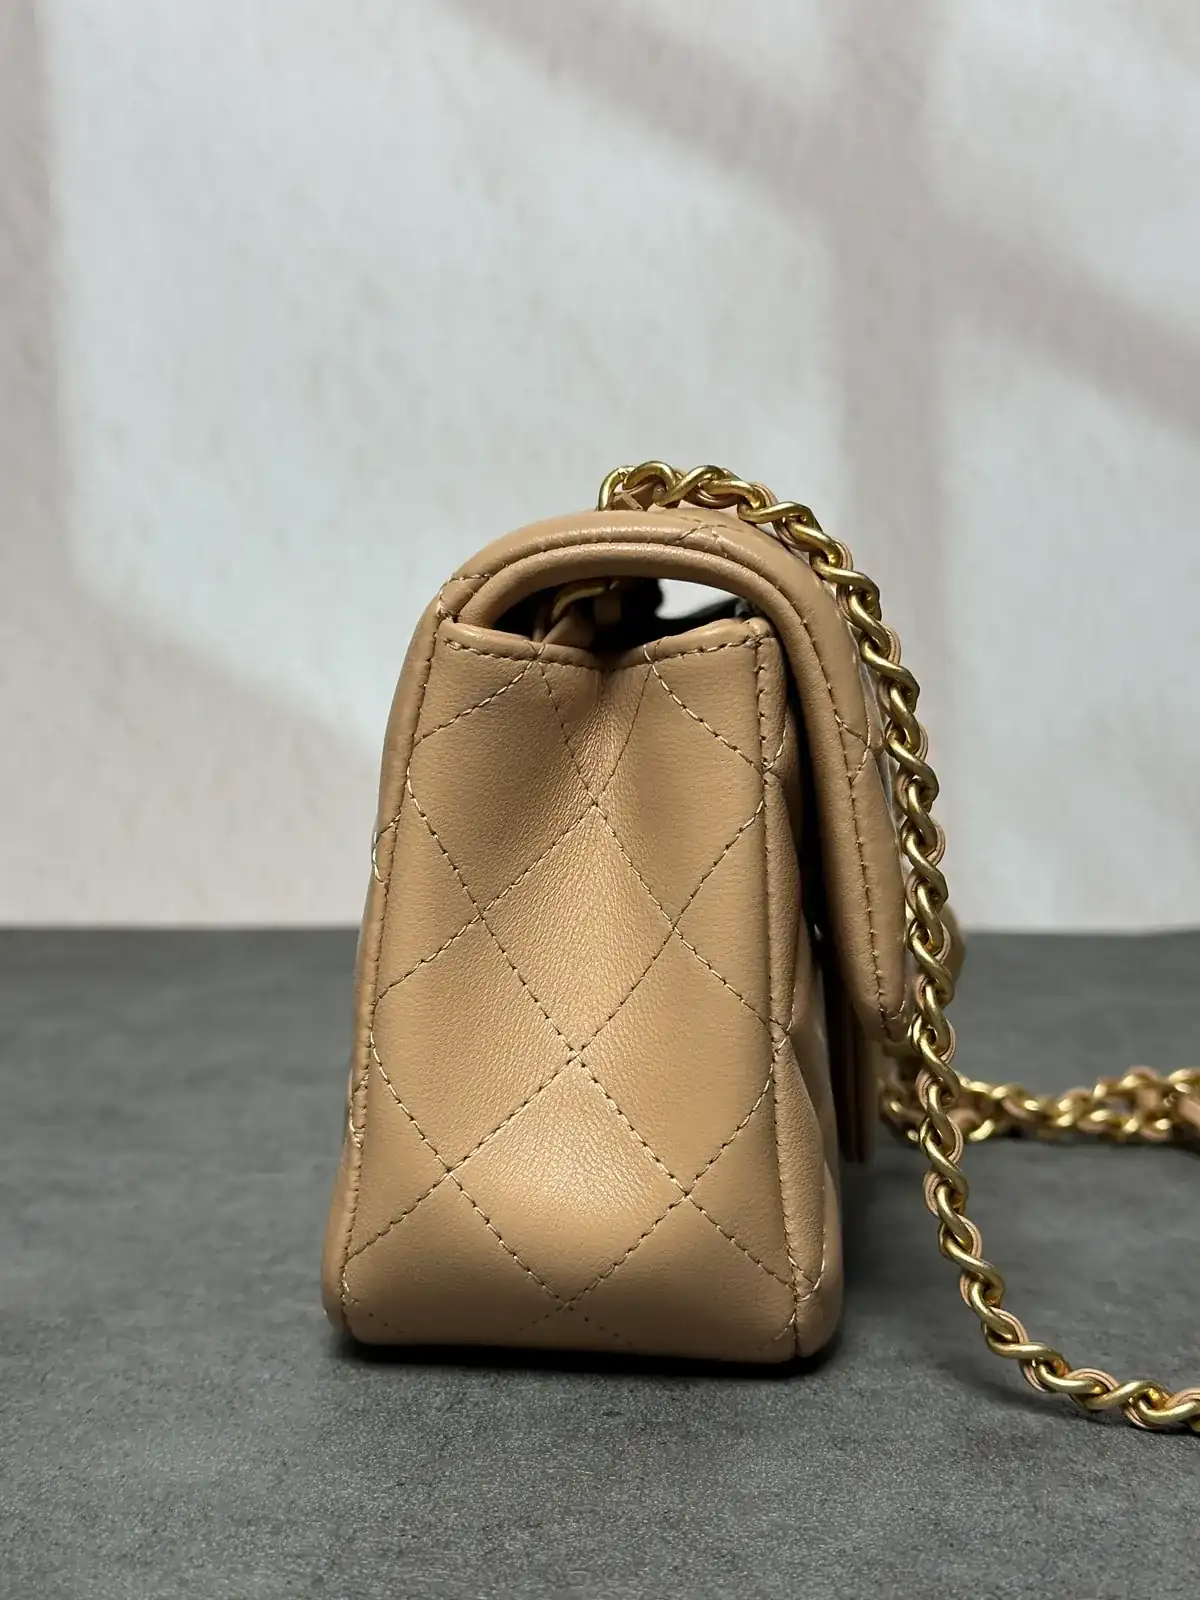
Chanel Classic Flap, burgundy — seam restitched, corners re-dyed
Burgundy (white scuffs at the corners) → BurgundyRestored in the same colour
Chanel · Bag
The same spot, before and after
The same spot, shot from a similar angle. An overlay opens once the two photos have been checked for alignment.
Dye record
Burgundy (white scuffs at the corners) → BurgundyRestored in the same colour
01Condition on arrival
A Chanel Classic Flap in burgundy. The leather was in good condition overall, but the stitching on the flap had come slightly apart, and wear had left white scuffs on the corners and edges.
The opened stitching at the seam inside the flap is visible.Before · photo 8
02Target colour
A partial re-dye matched to the original burgundy. Only the scuffed corners and edges were dyed; the opened stitching was repaired by restitching.
03Colour mixing & process
- Repairing the flap stitching
- Matching the burgundy
- Dyeing the corners and edges
- Edge paint (kirime) finish
The seam was restitched along the original stitch line, only where it had opened. The thread tension and stitch spacing were matched so the new stitches run on with the existing quilting.
Burgundy throws the whole bag off balance if it is even one shade out, so the colour was mixed to match the original.
A dye suited to the texture of the leather was used, keeping it supple and its natural sheen intact, with the colour carried evenly into the corners. The edges were then finished with edge paint (kirime).
04Result
In the front view, shot straight on in front of the same wall, the whole bag reads as an even burgundy.Before · photo 9 / After · photo 1
The bottom corner and its edge now read as the same burgundy as the leather around them.Before · photo 3 / After · photo 6
05Limits
There is no after close-up of the restitched seam inside the flap, so the stitching repair can only be seen in the before photos (1 and 8).Before · photo 8
The white scuffs cover small areas, so the difference looks slight in the full shots.Before · photo 3
06About these photos
The before close-ups (1–6 and 8) were shot in different light from the after photos, so the burgundy reads as a brighter red. Compare the colour using the front views shot in front of the same wall (before 9, after 1).
The same spot, shot from a similar angle. An overlay opens once the two photos have been checked for alignment.
- Brand
- Chanel
- Work
- Partial re-dyeing
- Material
- Quilted leather · silver-tone chain
Close-ups
Select a photo to zoom in, up to its original resolution.